When you’ve installed WordPress on your server, your first step is to log in to the administration area and configure your new site.
How to log in to the administration area
Log in to WordPress via the HostPapa Dashboard. The WordPress administration area (sometimes known as the admin dashboard or back-end) comprises the various configuration panels for your website as well as your post and page editing screens. The login page can be found by placing wp-admin after your domain name (e.g. https://www.mysite.com/wp-admin). Alternatively, enter wp-login after the domain name (e.g. https://www.mysite.com/wp-login).
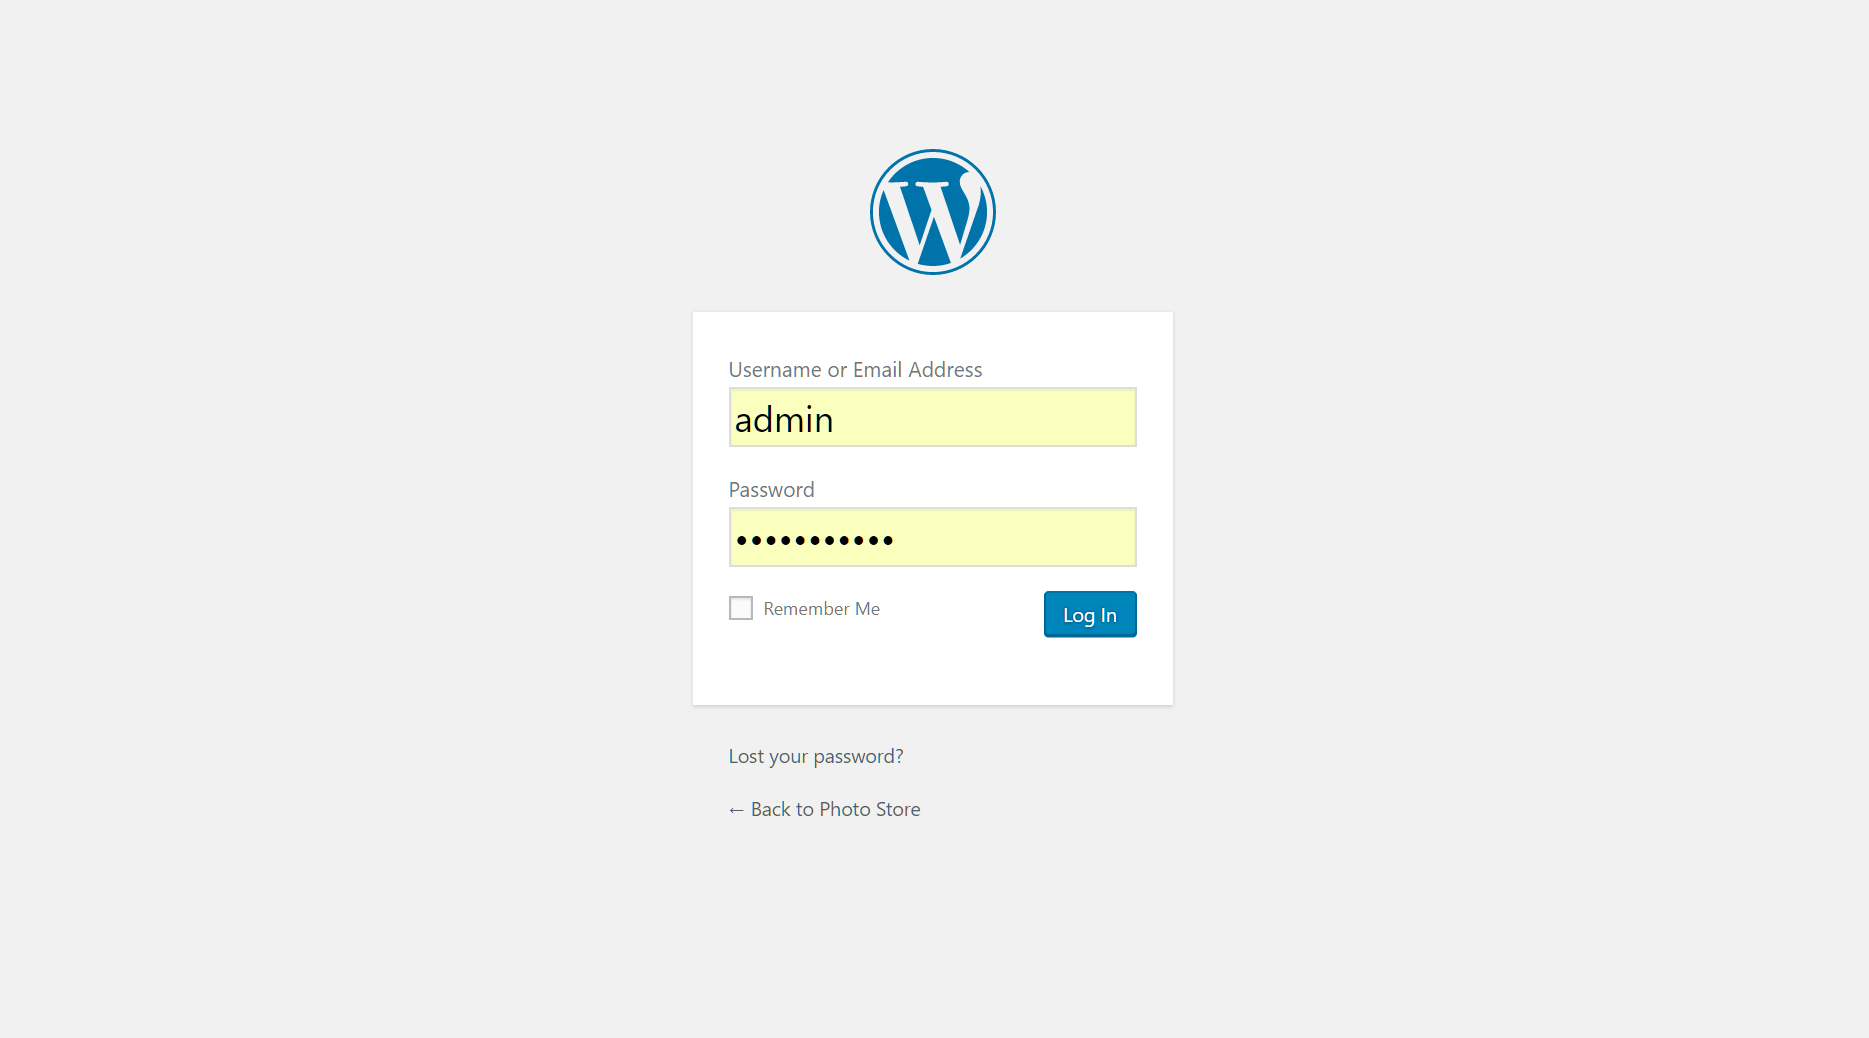
Enter your username and password to access the admin area.
How to view your WordPress site using the toolbar
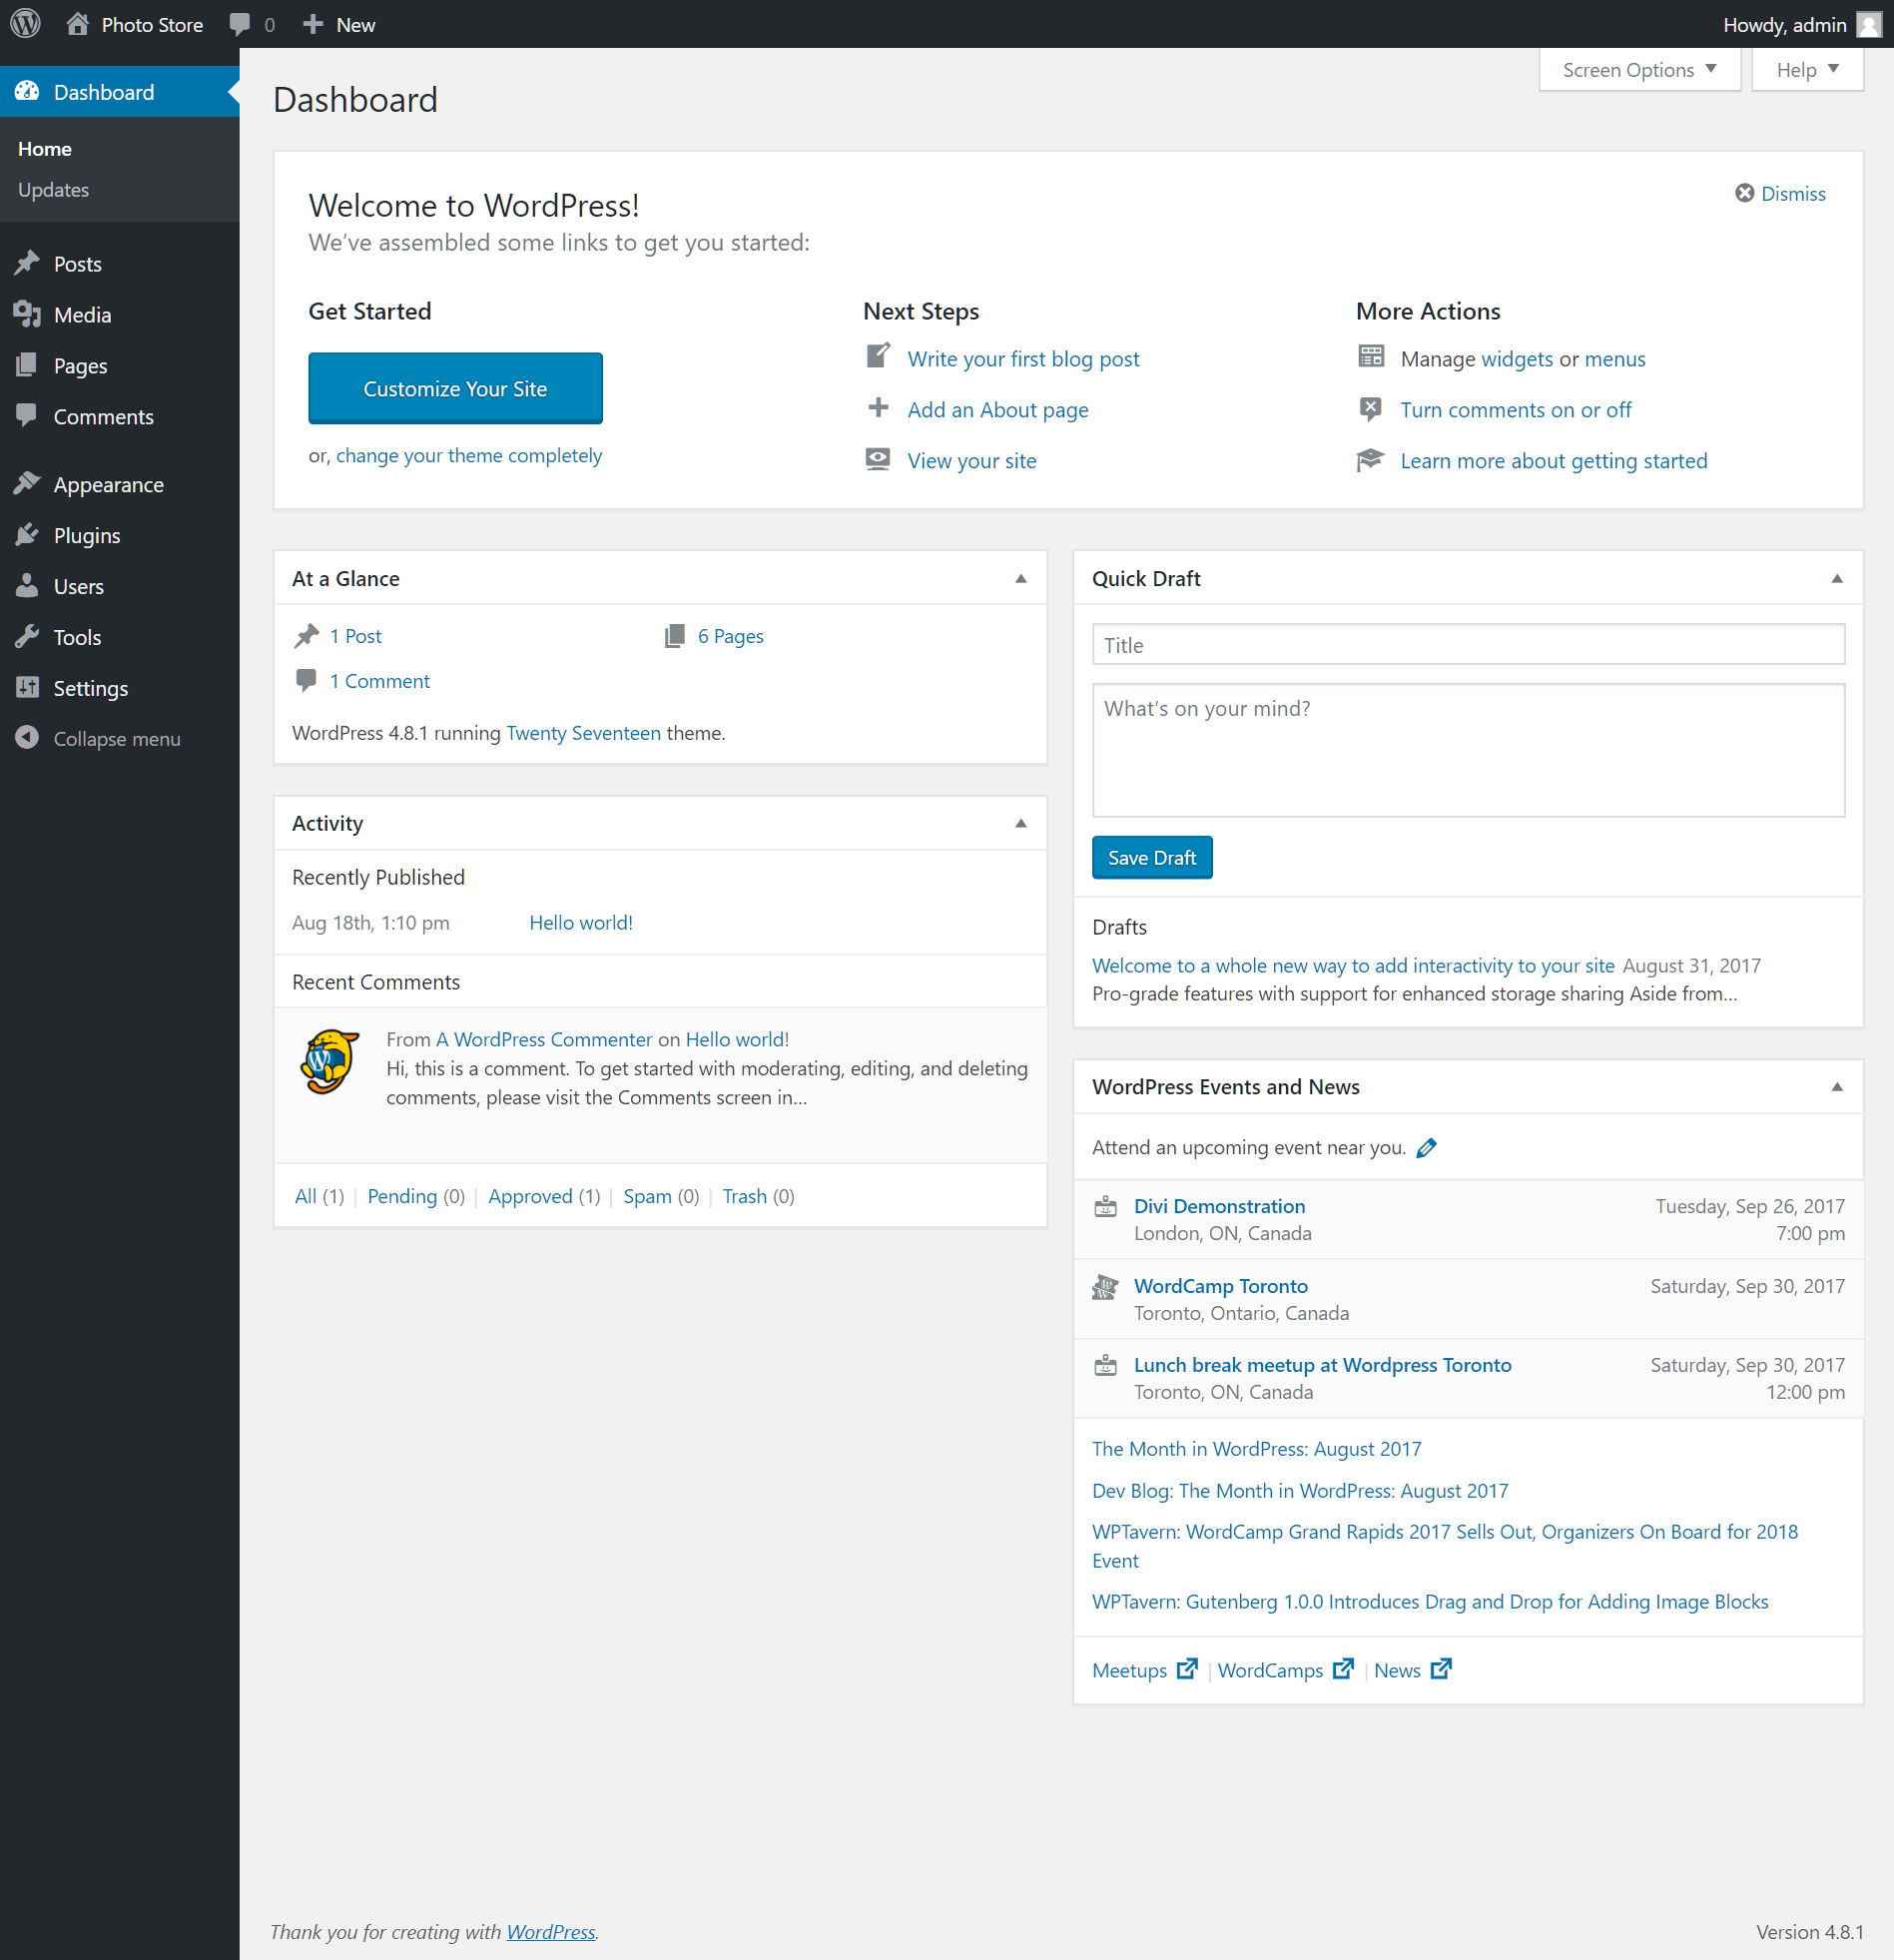
You’ll notice a toolbar at the top of the screen that includes links to various essential WordPress features, such as the post and page editors, comment management, and more. Click the link with your site name to view the front-end of your site. This is what your readers will see when visiting.
![]()
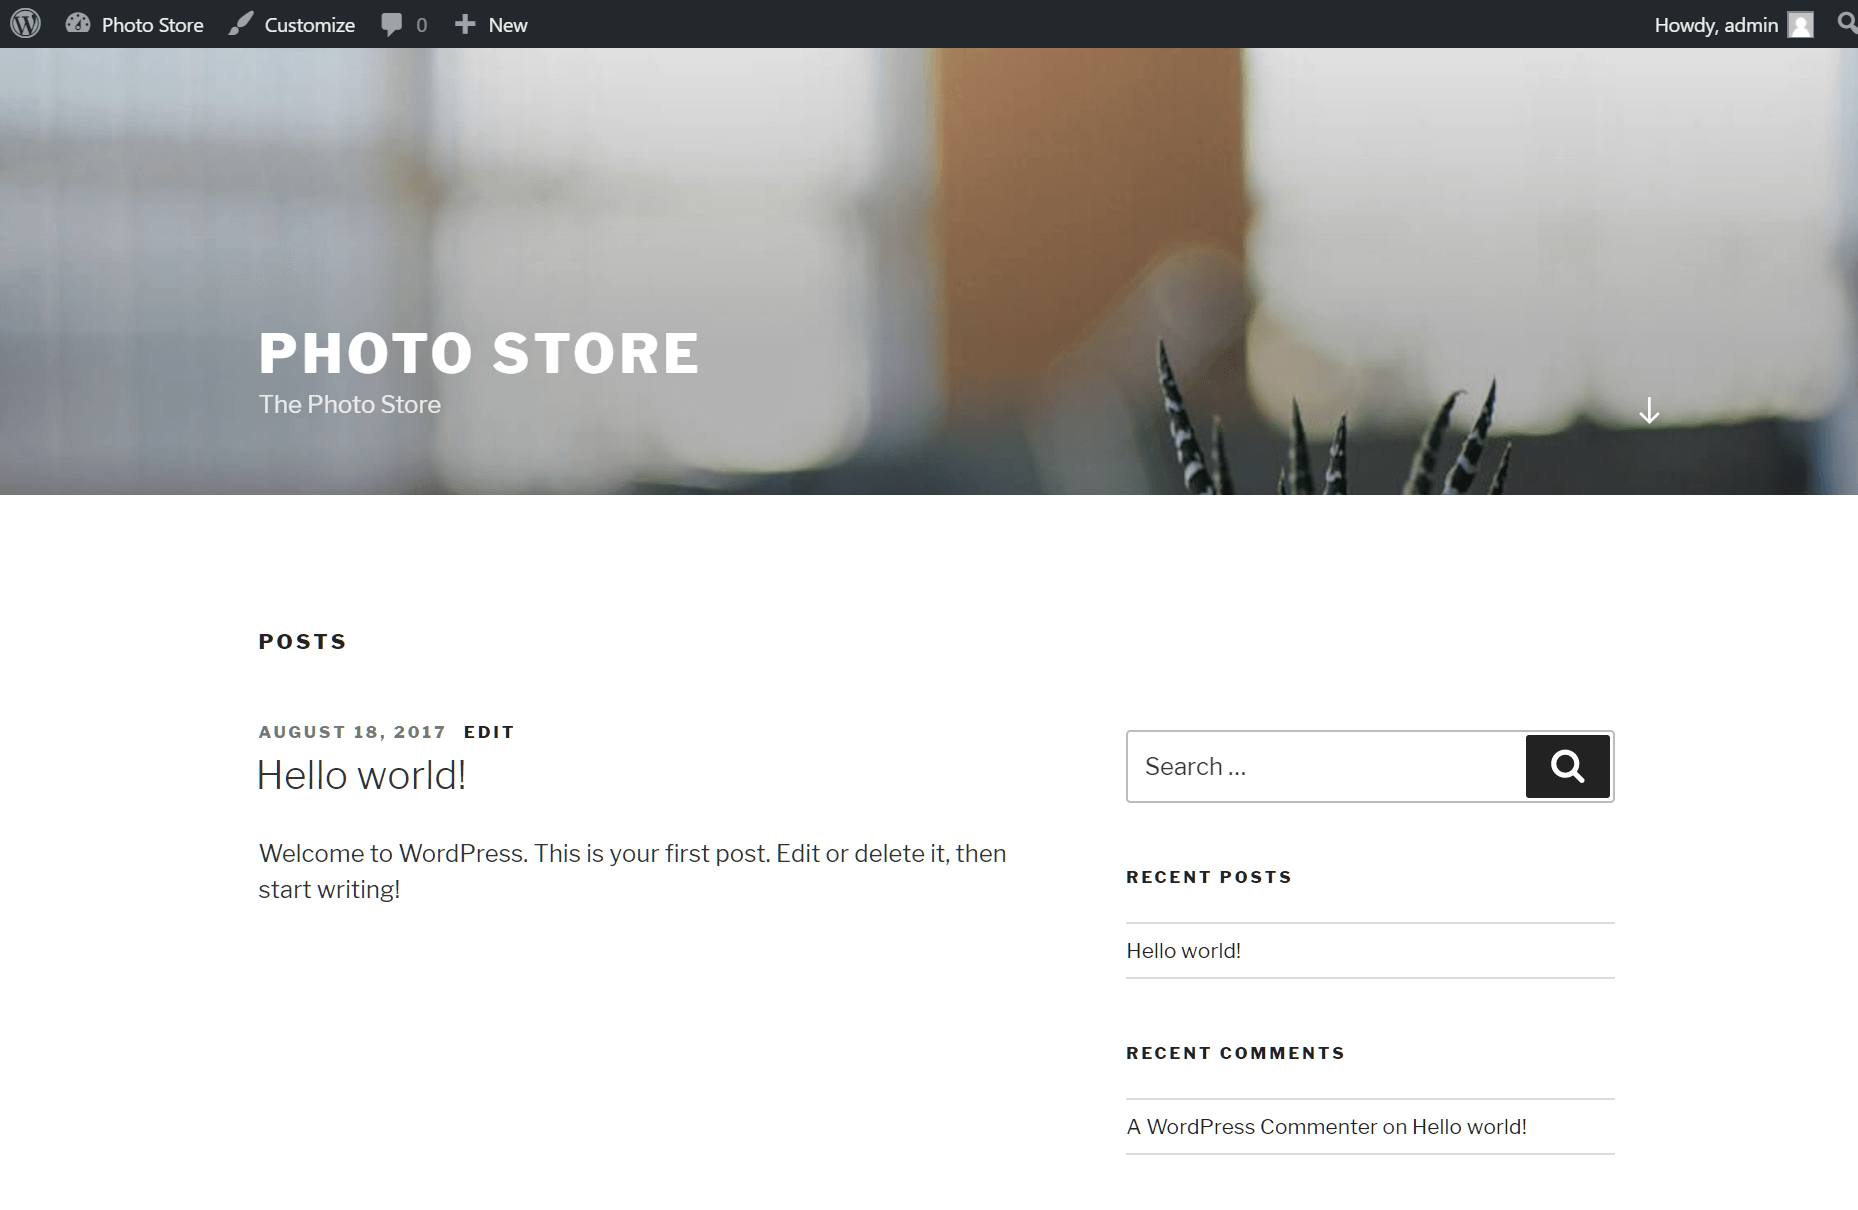
Your site will look reasonably plain at first, but once you’ve installed a site theme and built up your content, you can achieve great-looking results with just a few hours of work.
How to understand the basic WordPress page structure
When you install WordPress, the default theme is installed. Themes define how your site looks and can also extend WordPress with additional features.
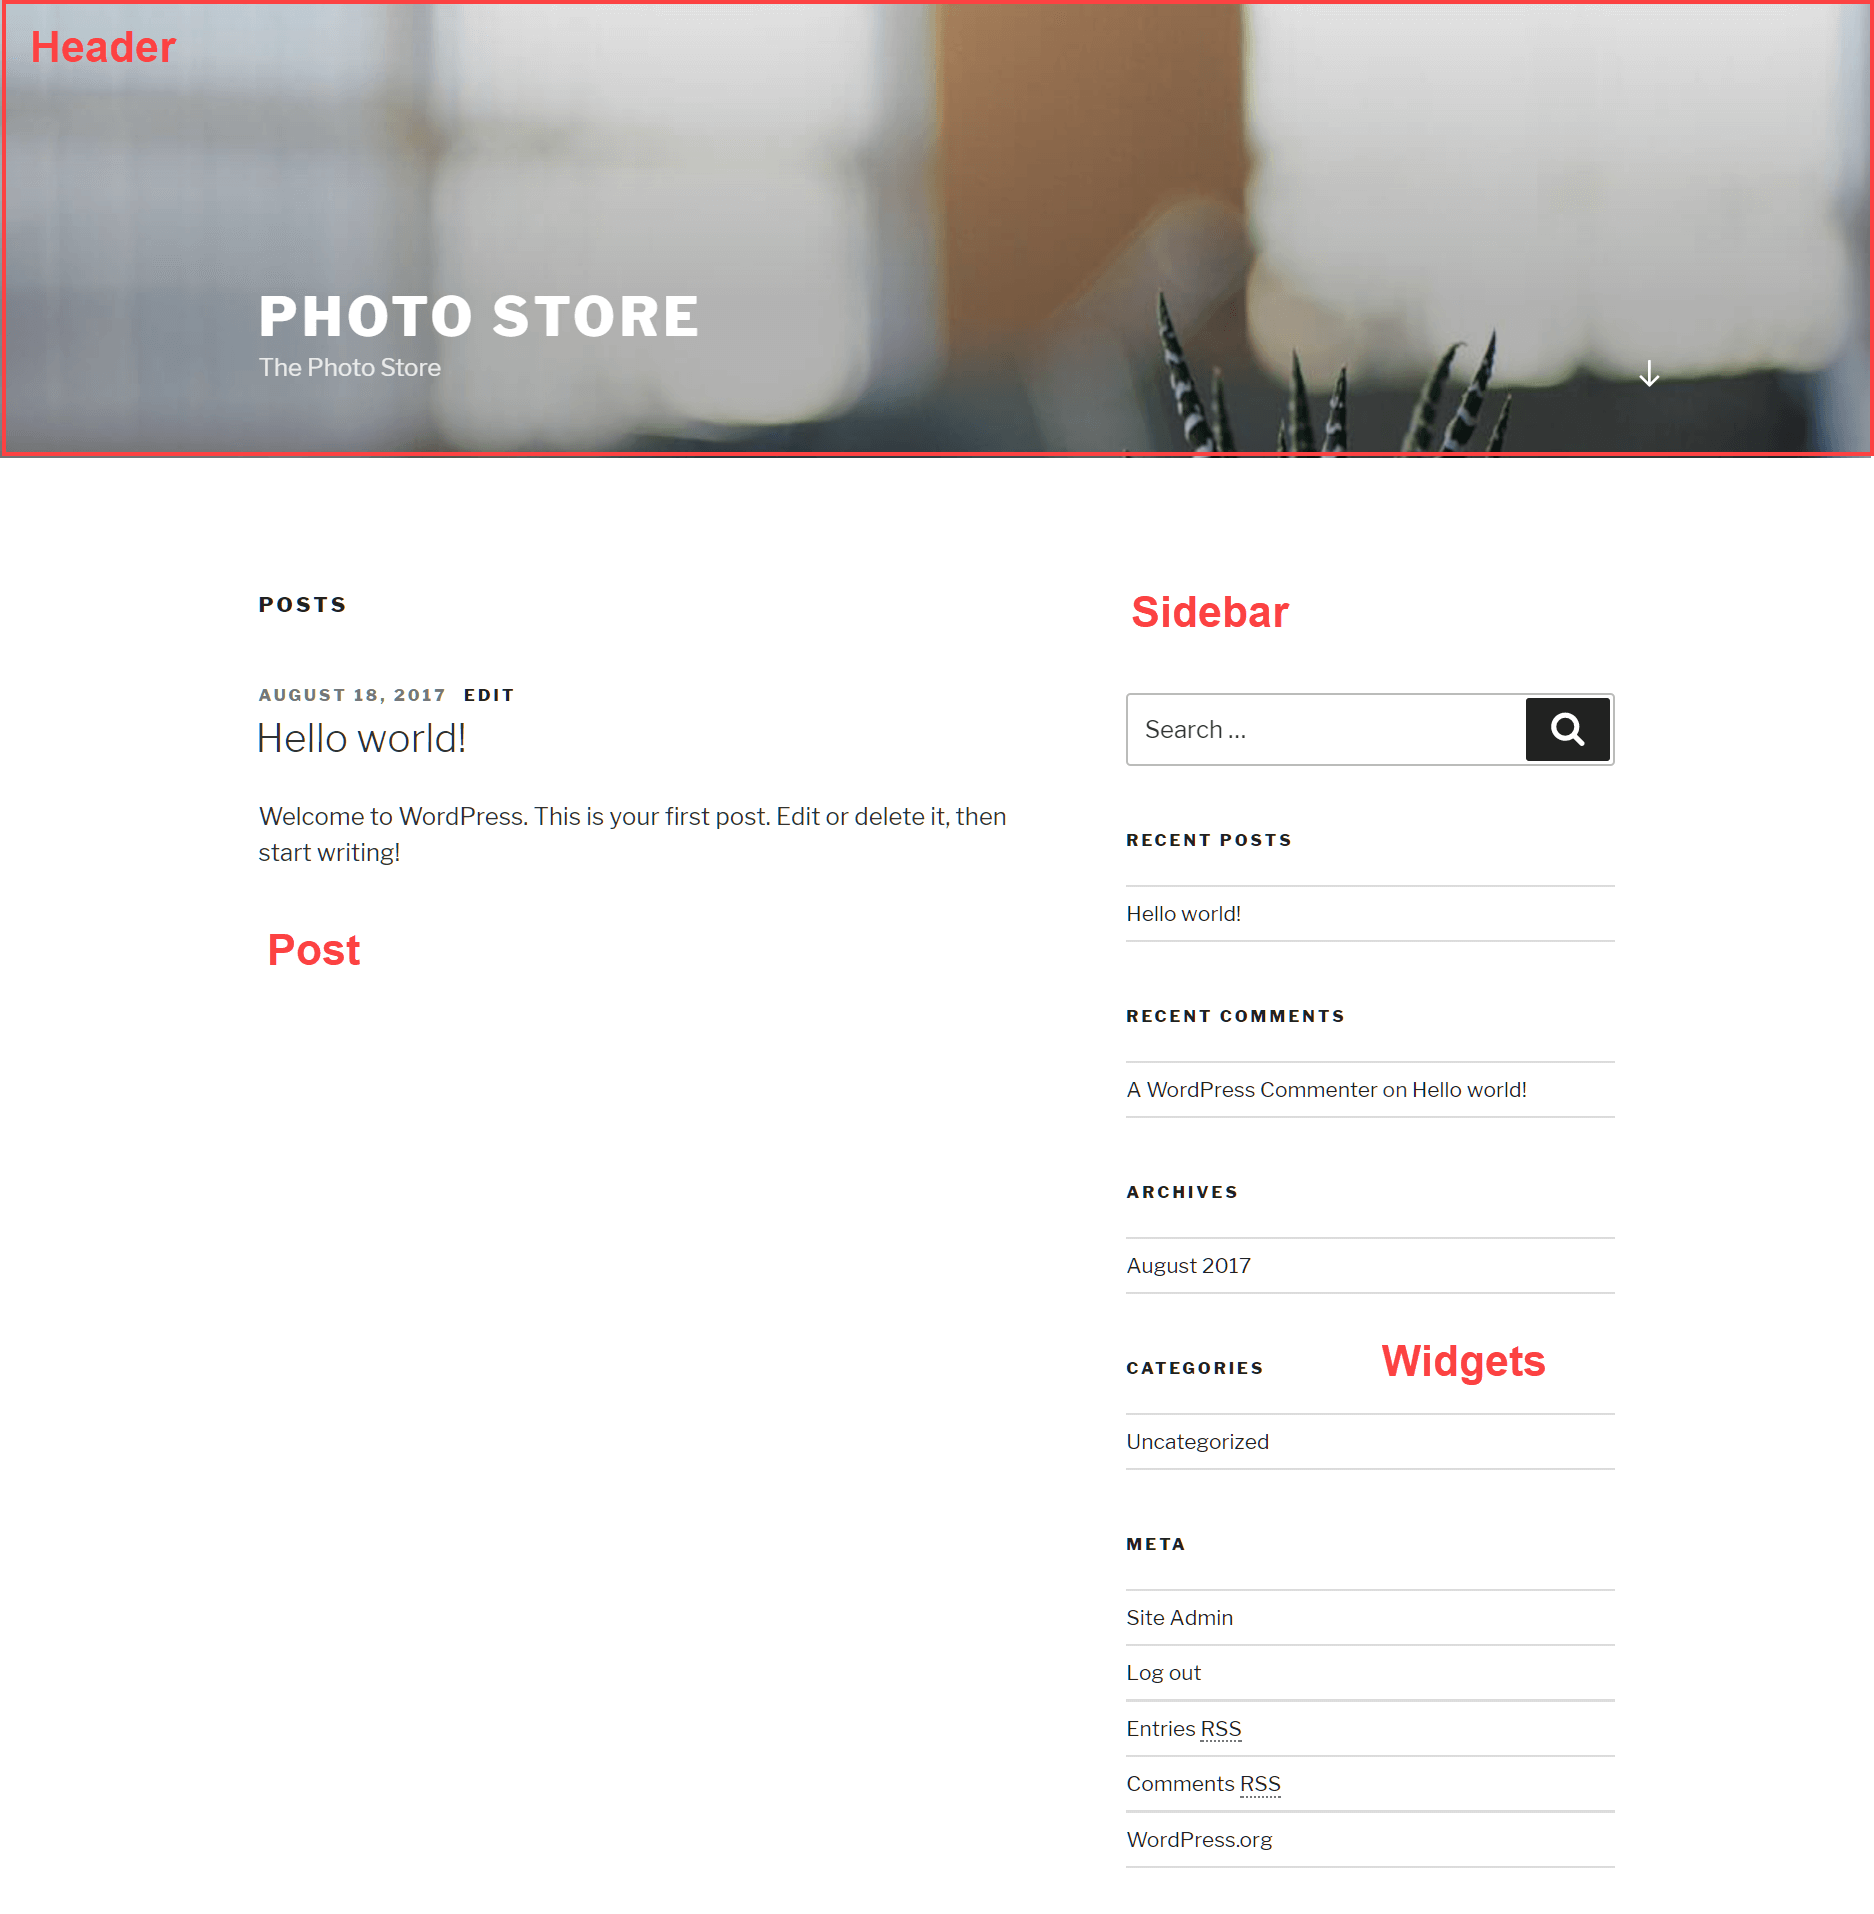
Themes vary in appearance, but most will use a standard suite of page components. They include:
- Header – the top section of the page, where the site name or logo will be positioned
- Menus – links to navigate the site are commonly found at the top of the page, below the header block, and sometimes in both positions. You can place menus in many locations around the site.
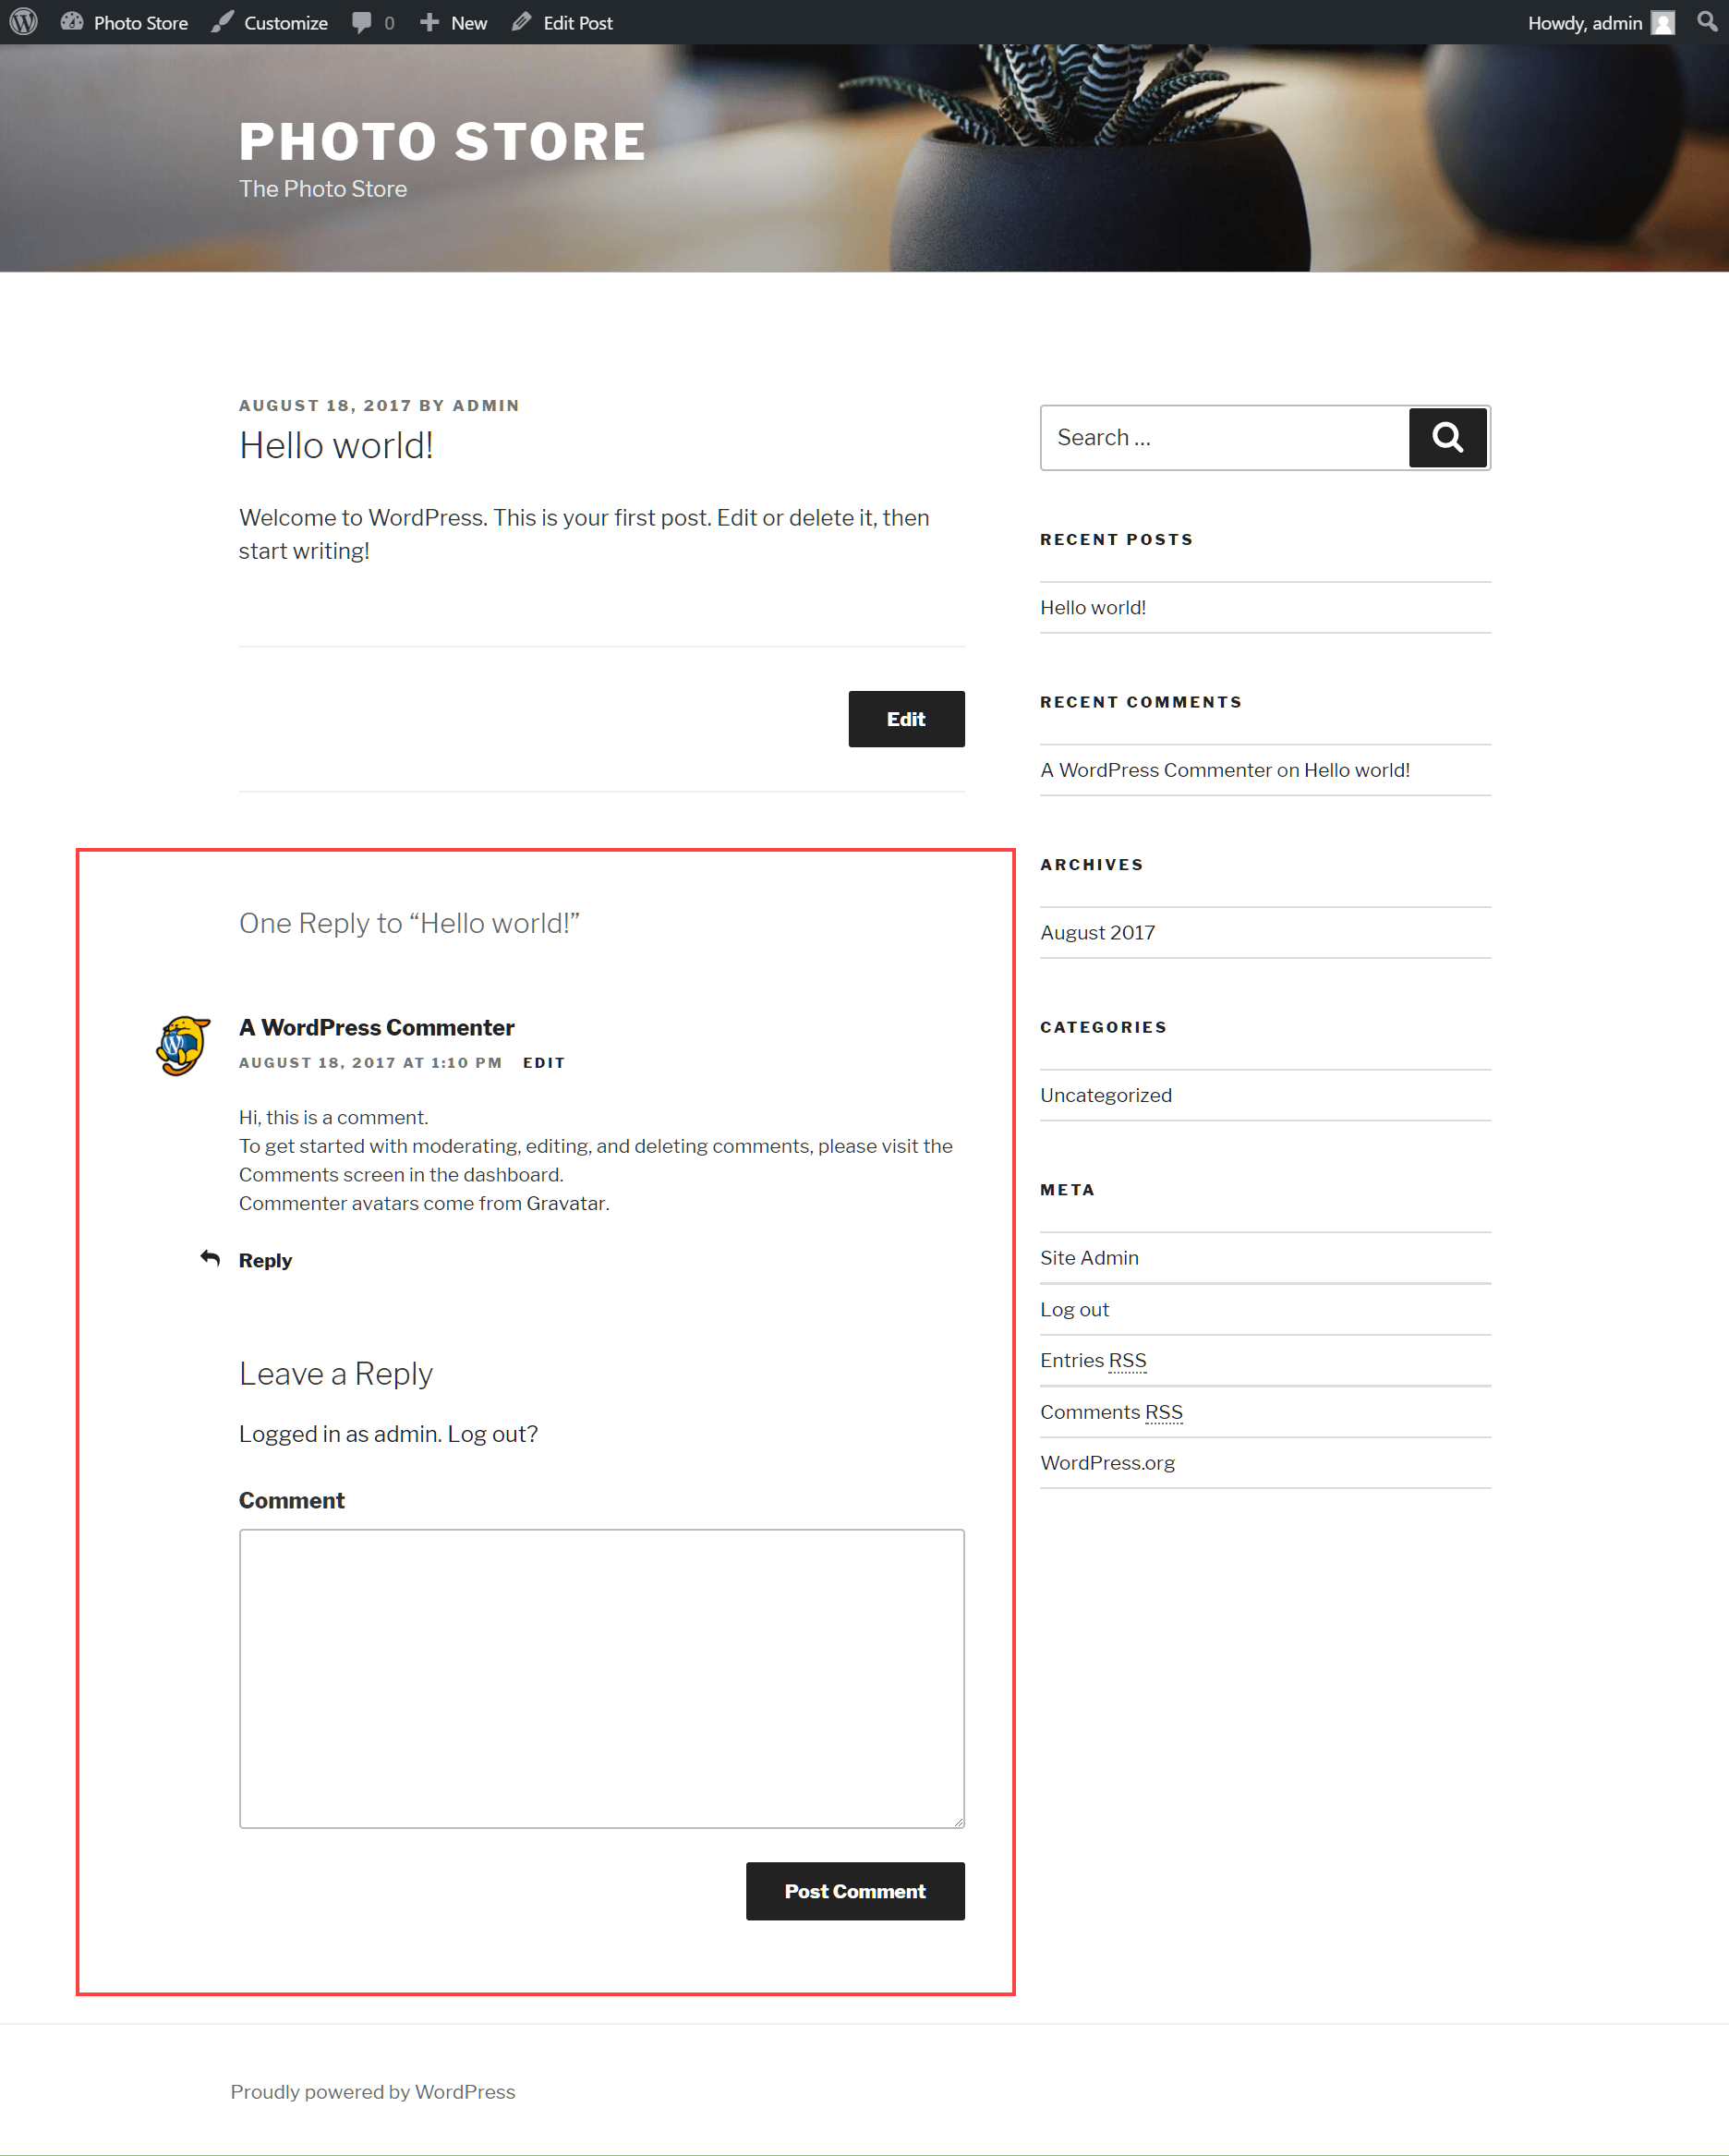
- Post – the focus area of your site, where your post or page content is displayed
- Sidebar – sidebars include supporting information, links and more. Sidebars can be placed to the left or right of the post block, and you’re free to create multiple sidebars for display.
- Widgets – short snippets of content that populate your sidebars. You can drag and drop predefined widgets into a sidebar or create your own
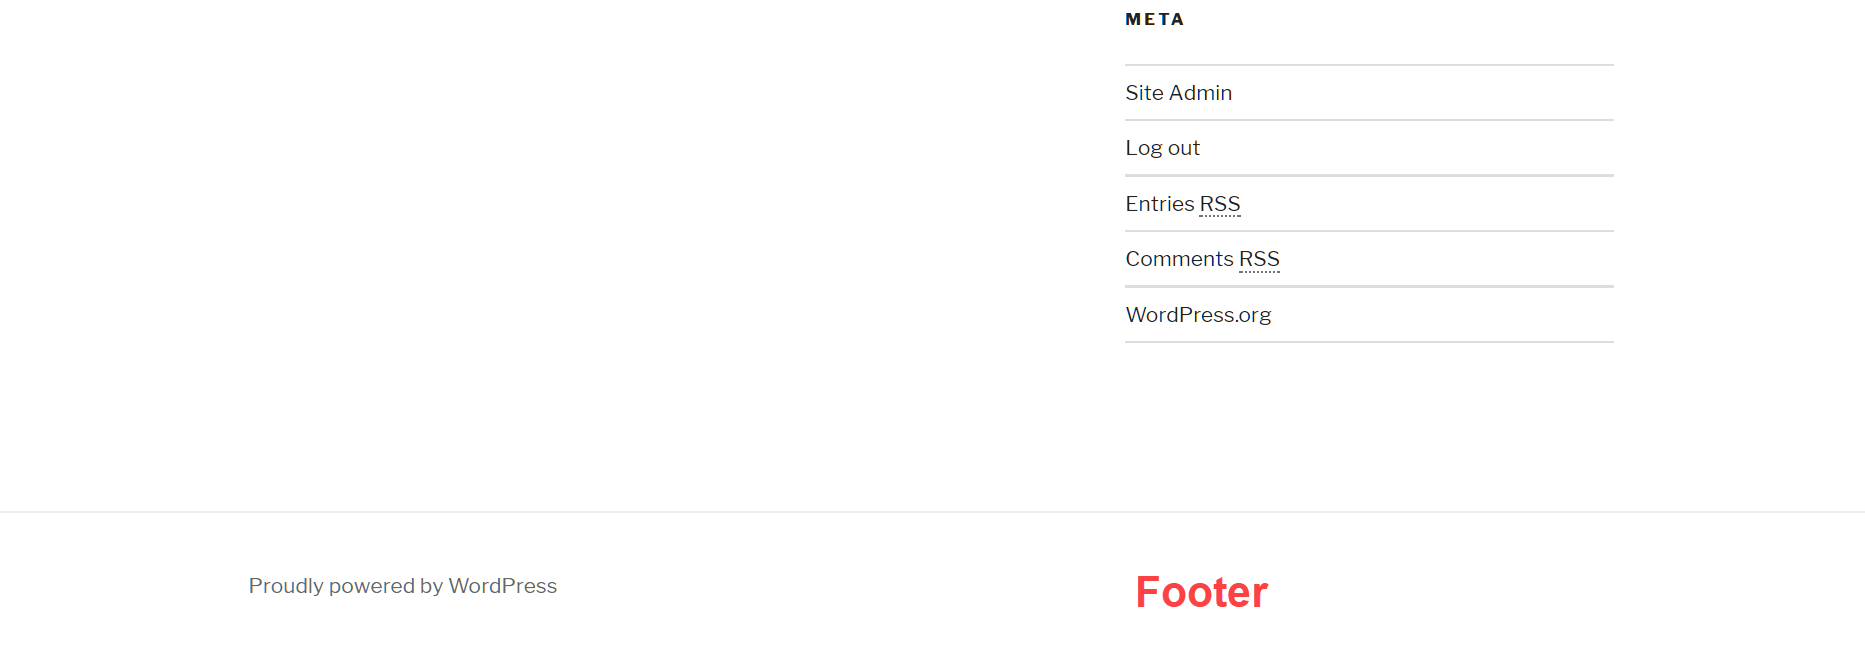
Footer – the bottom section of your site, where you can display links, contact details, copyright information, additional menus and more. Many themes offer footers with widgets, allowing you to select predefined blocks of content.
Click on the title of your post, and you can view it in full. Note the Comments section below the post, where your readers can discuss and share what you’ve created.
Everything you see on screen – the position of text, the appearance of text, buttons and other graphics – can be adjusted to your preference. Some themes may require you to edit CSS stylesheets to change the look of your site, but many offer more straightforward menu-based options or even drag and drop interfaces that help you build beautiful page structures.
To the right, you’ll see a Categories widget in your sidebar. Posts are organized into Categories that you define. You start with a single category, but you can add more quickly in the admin area. Categories help your readers find the content that interests them. Each post you publish can also be tagged with content-related keywords, and tags are another great way to help readers find relevant content.
A quick trip around the admin area
Use the toolbar to navigate back to your dashboard. On the left, a sidebar helps you navigate a swathe of settings categories. They include:
- Dashboard
- Posts
- Media
- Pages
- Comments
- Appearance
- Plugins
- Users
- Tools
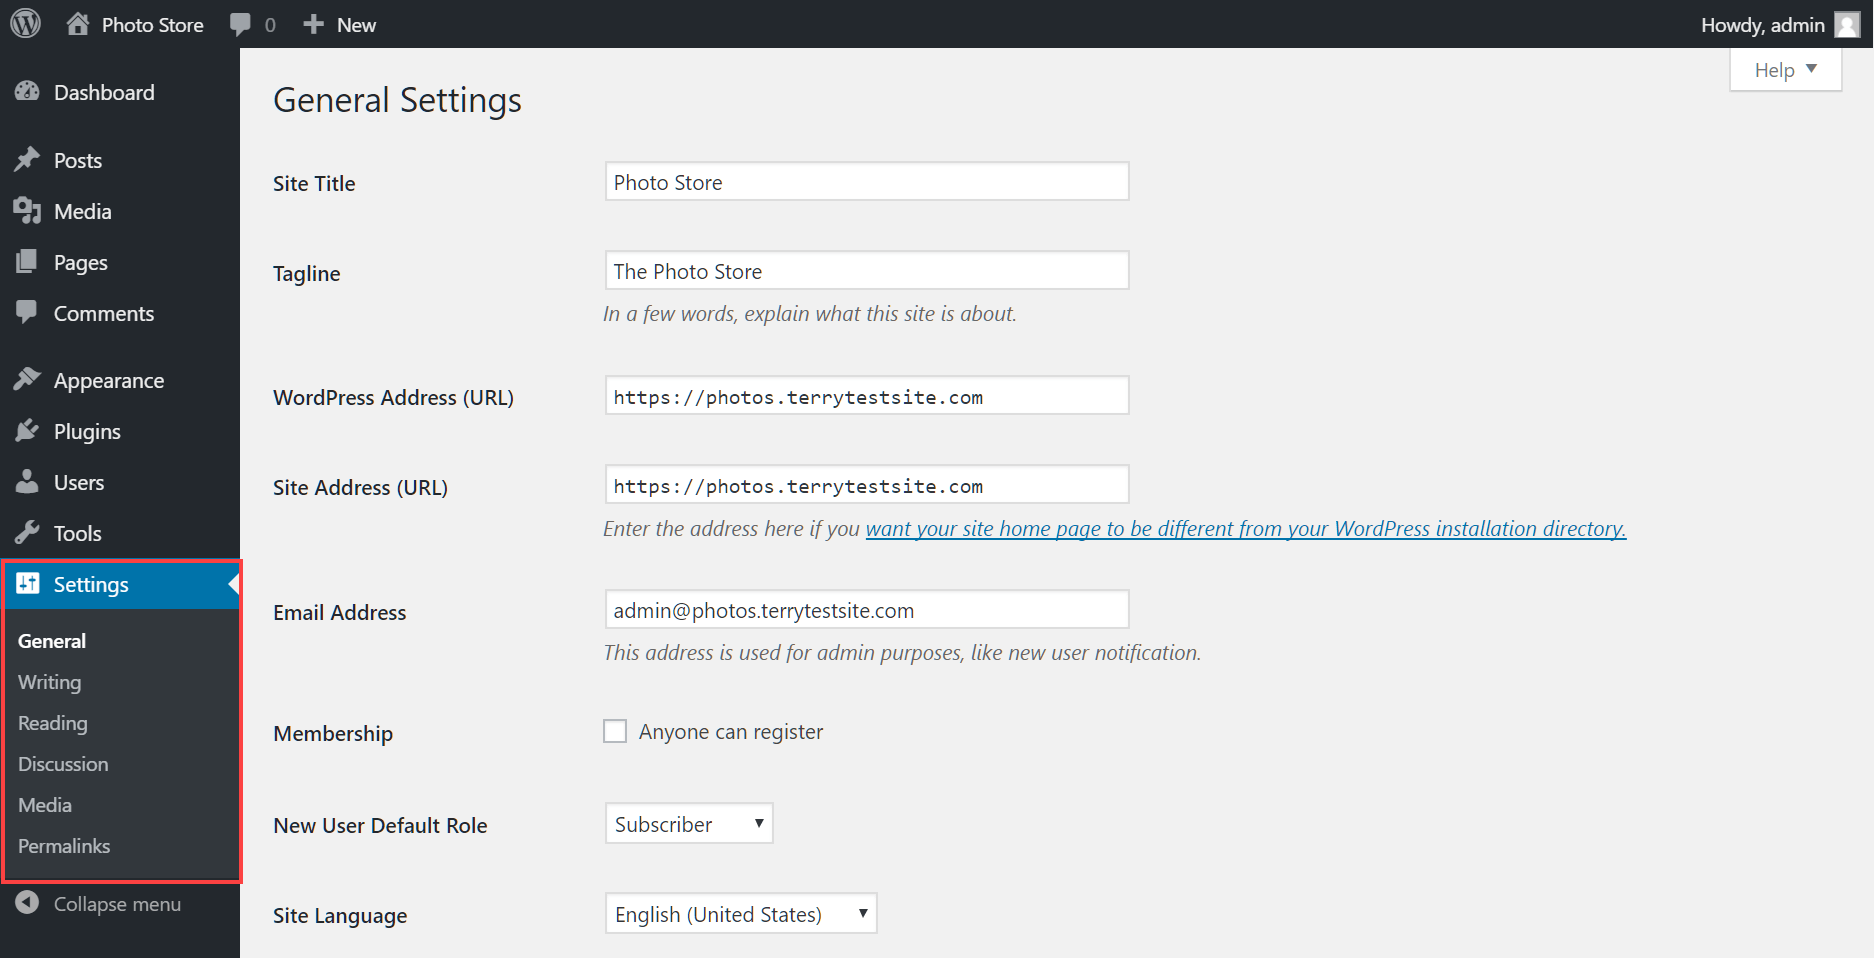
- Settings
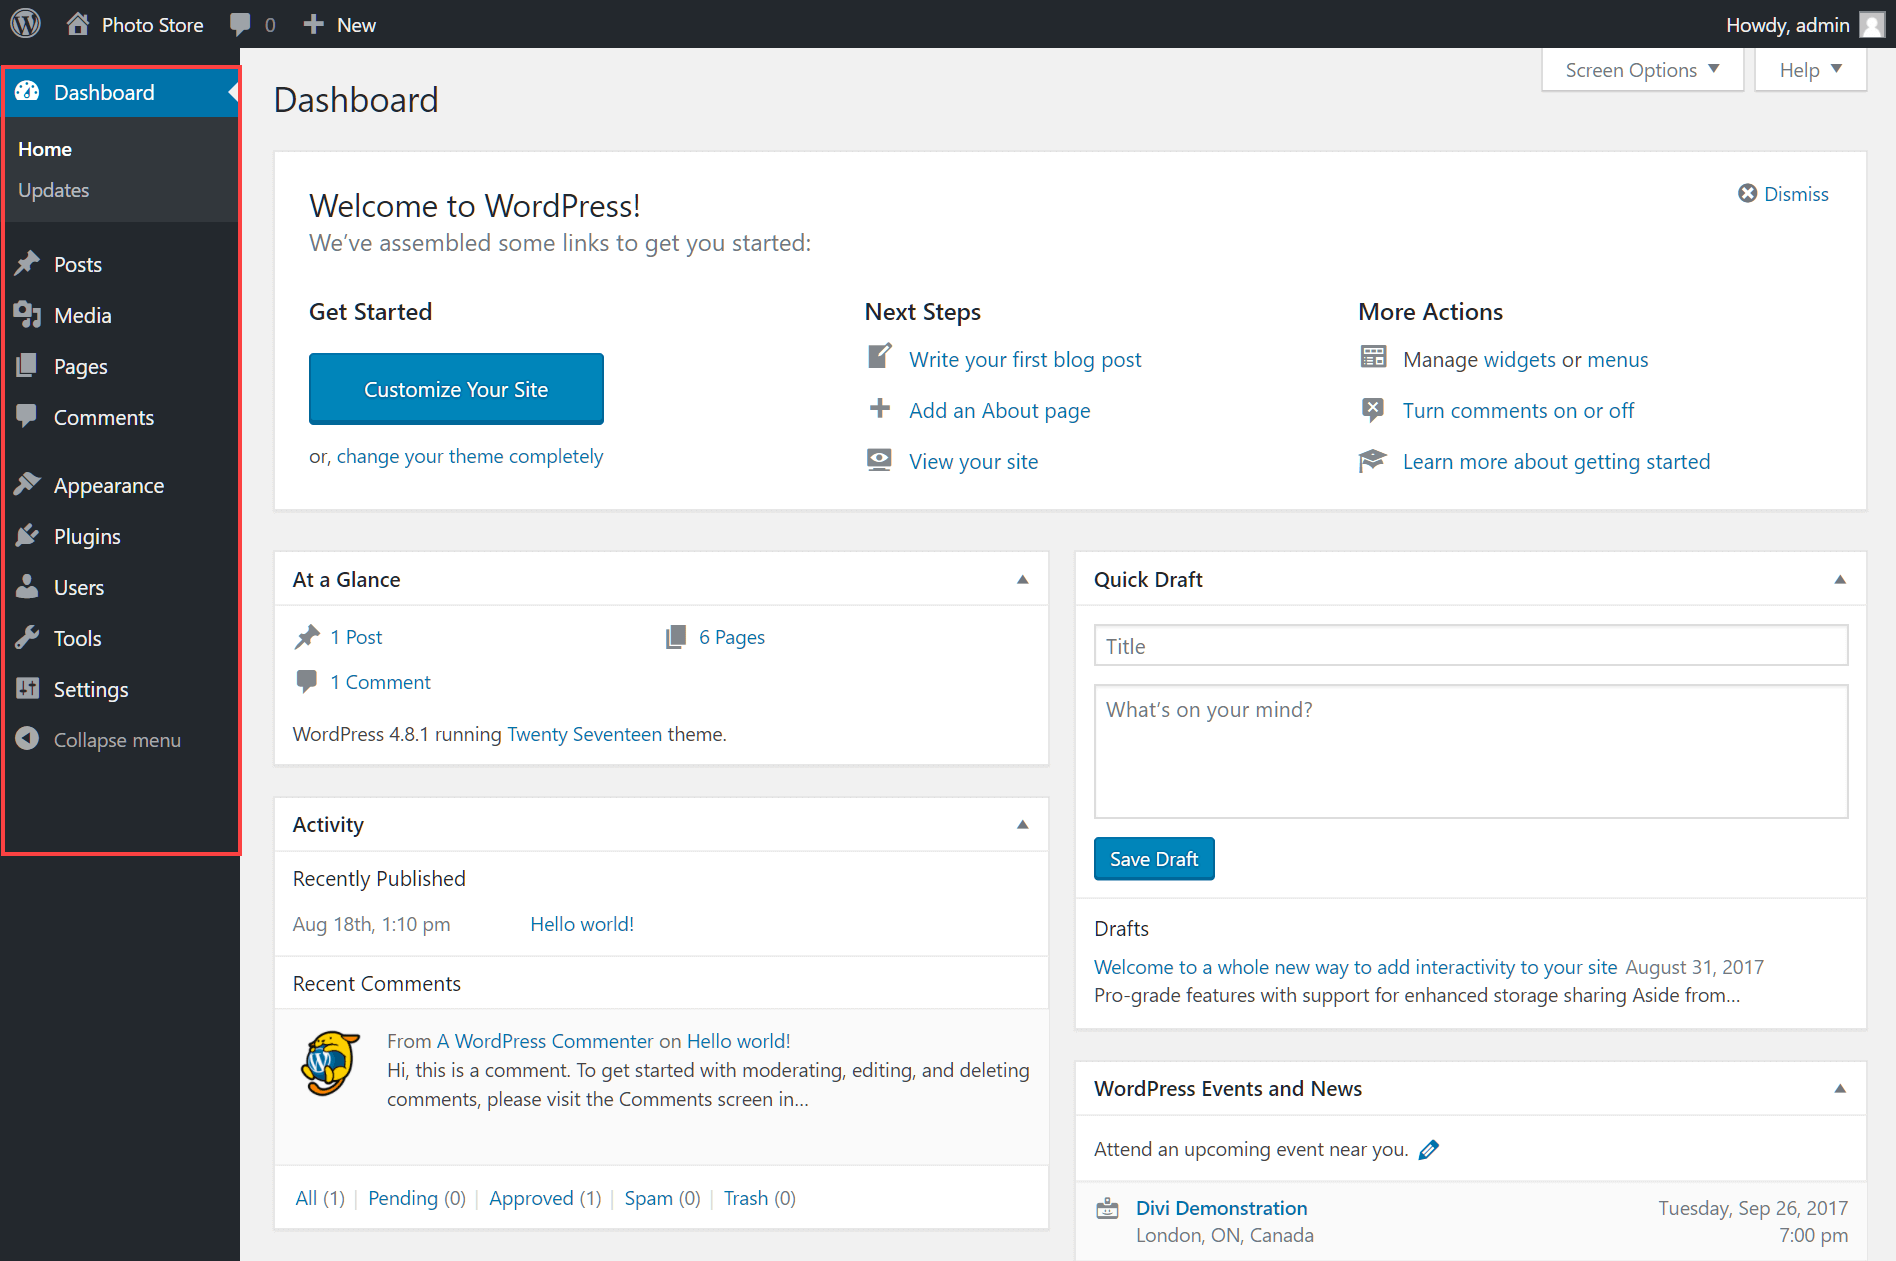
Most of these are self-explanatory, and you should take some time to review the settings available in each area. Note that when you install a new theme, you may see additional settings categories appear in the sidebar. WordPress Plugins (small apps that extend the platform’s core features) may also create new settings categories or subcategories – so expect your sidebar to evolve.
To get started with your site configuration, be sure to check out the Settings menu, which includes many basic but essential settings for your site.
How to experiment with themes
If you wish to quickly test out different designs for your site, head to Appearance > Themes.
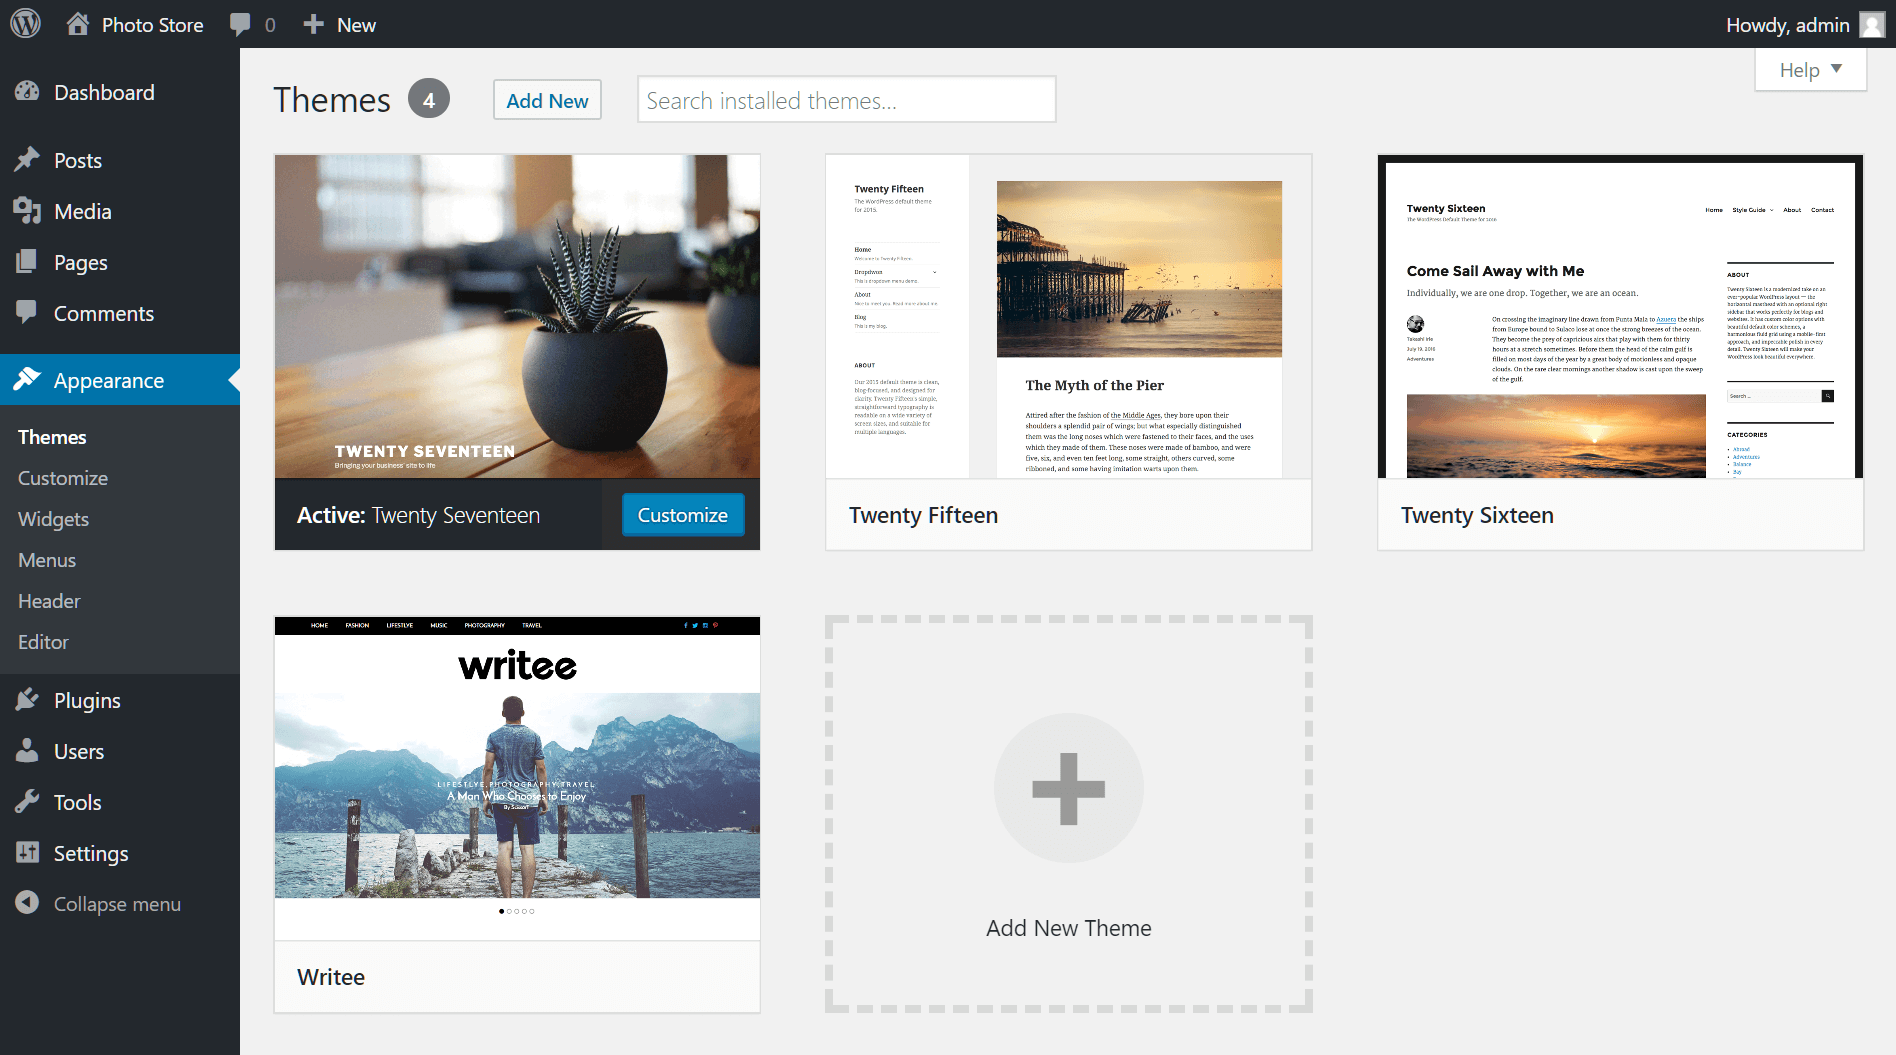
Here you’ll find several, which include many basic pre-installed themes that are available with your installation. Click the Add New button to view the vase repository of additional themes available for WordPress.
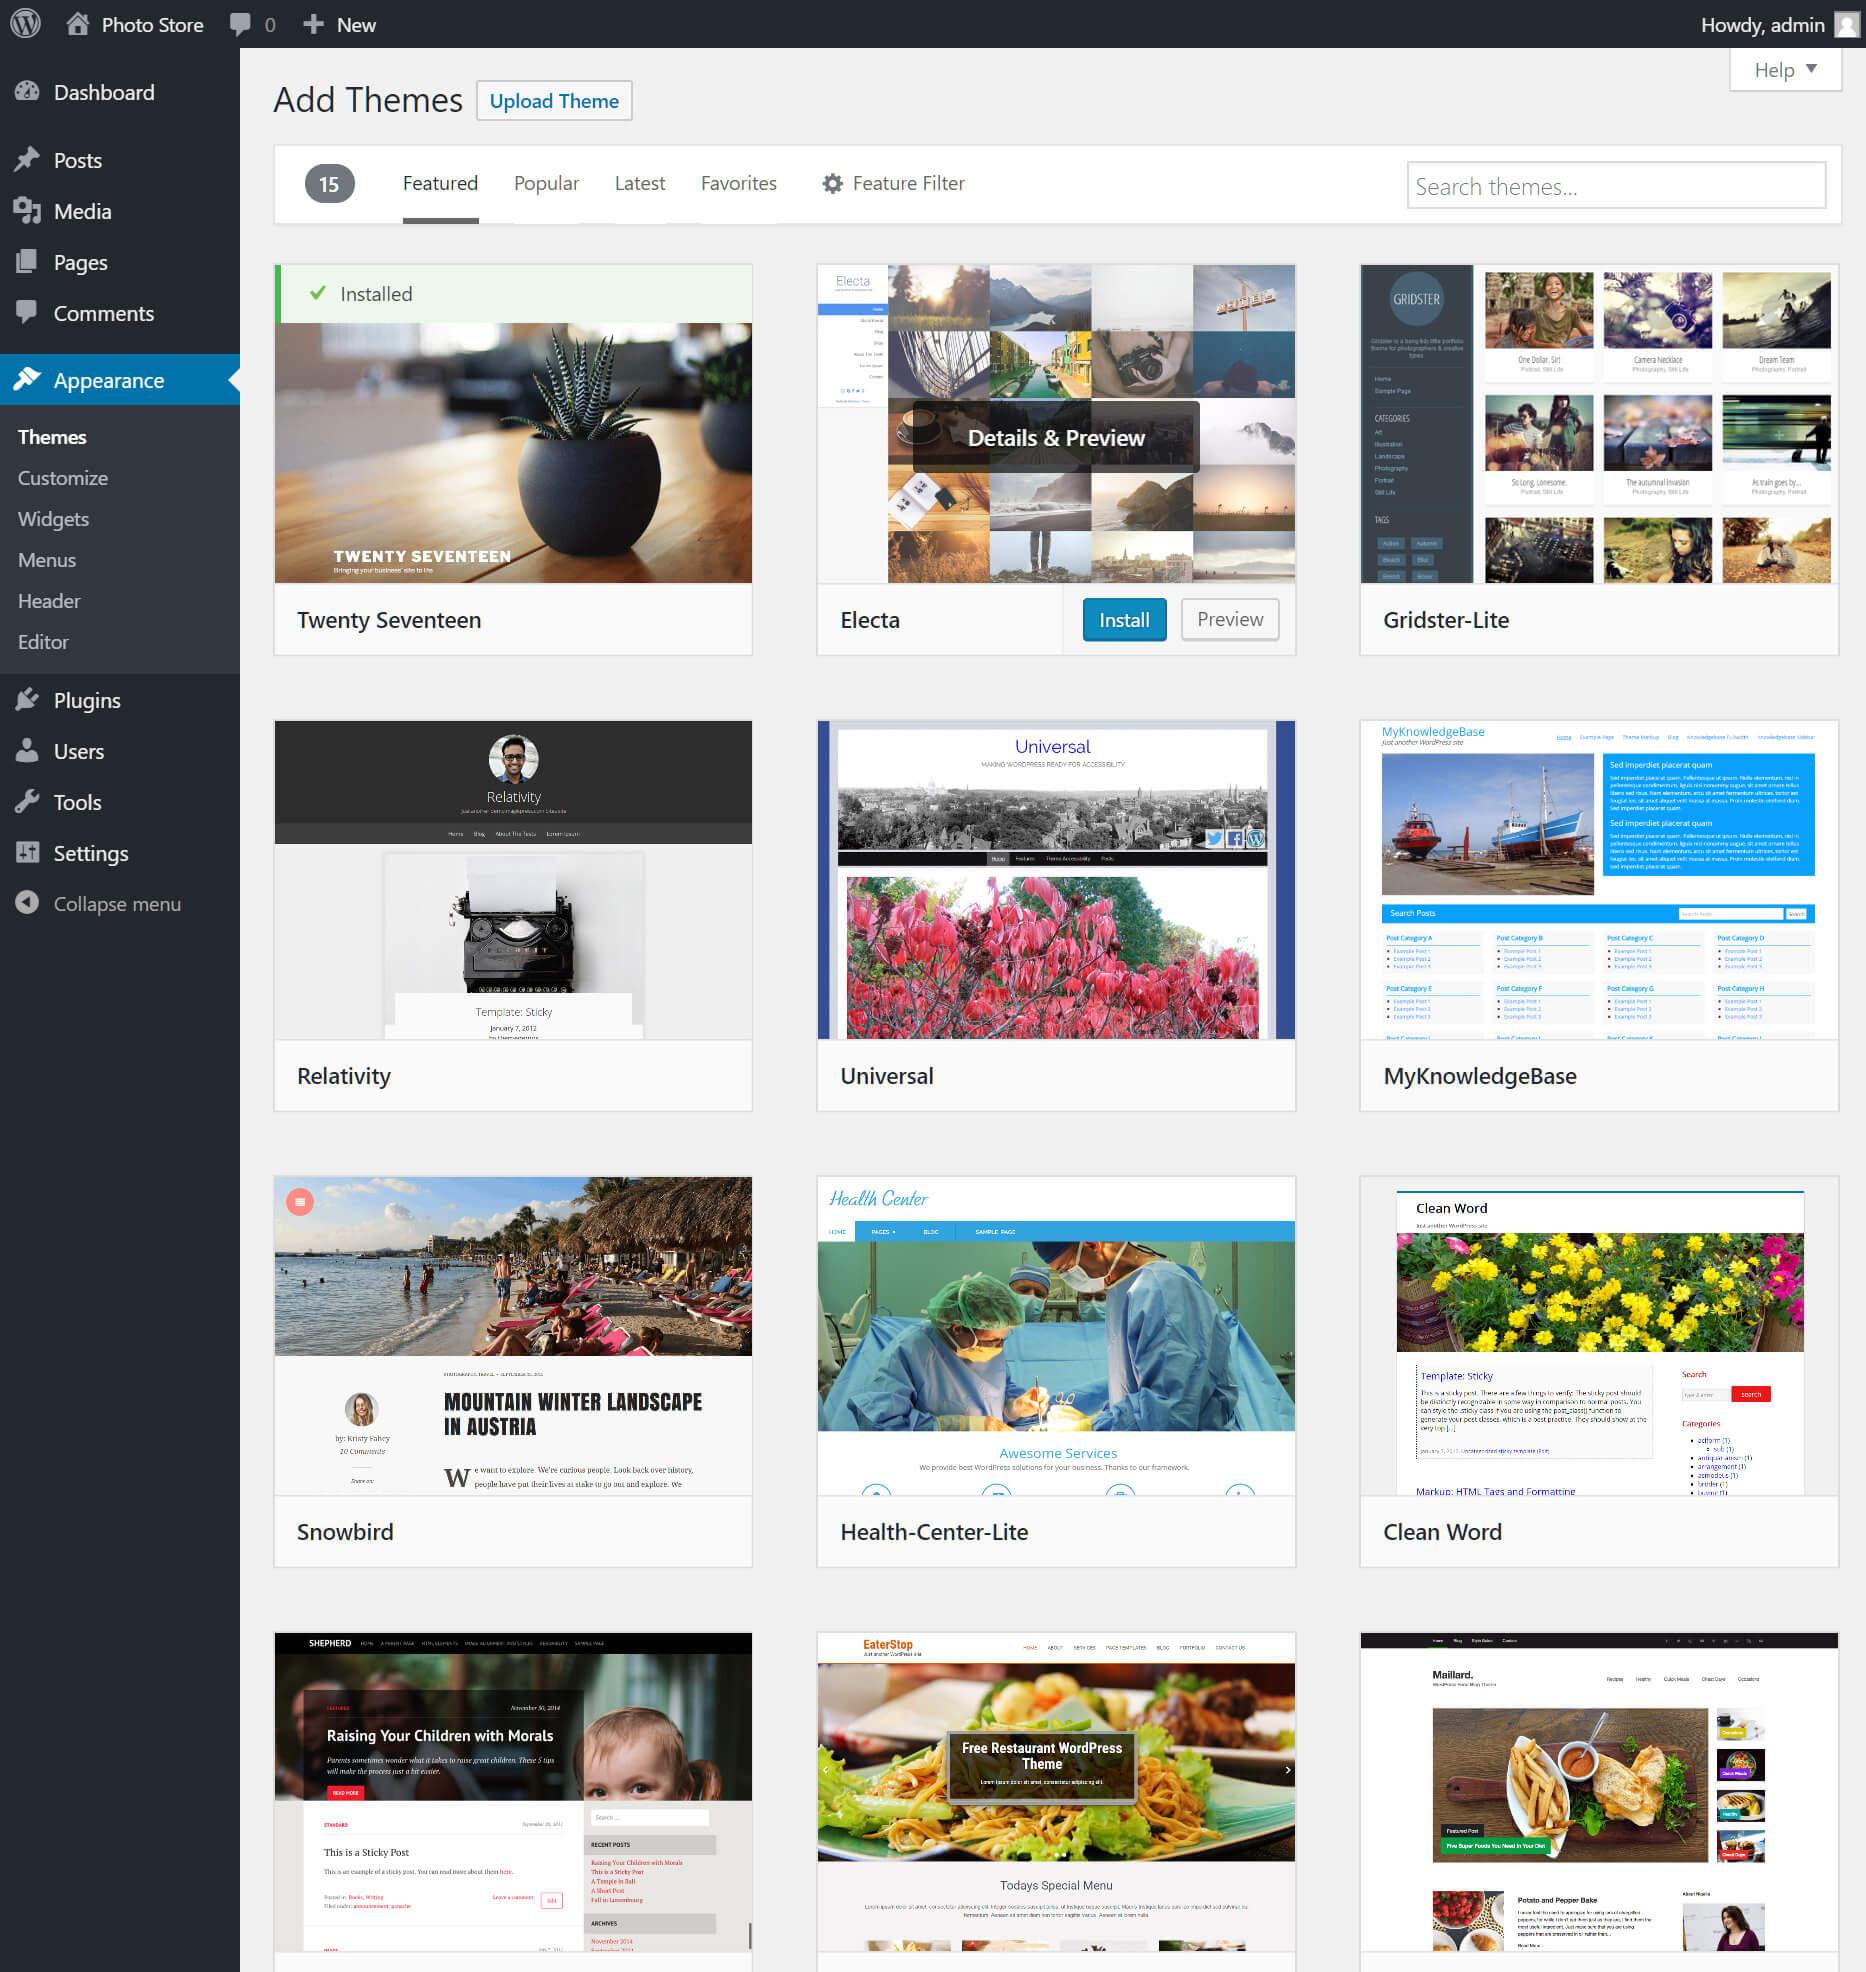
WordPress also has a thriving community of commercial theme developers creating advanced, stylish designs for the platform. Sites like ThemeForest are great places to explore the variety of designs and features available for WordPress.
How to create posts and pages
Publish content on your WordPress site using posts and pages. Pages are generally static blocks of content used for information that changes infrequently. Typical examples include a Contact page or an About Us page describing the organization or owner of the site.
Posts are published more frequently and include news, features and other content about a particular topic. They’re listed in chronological order on your website and arranged in topic-focused categories with keyword tags.
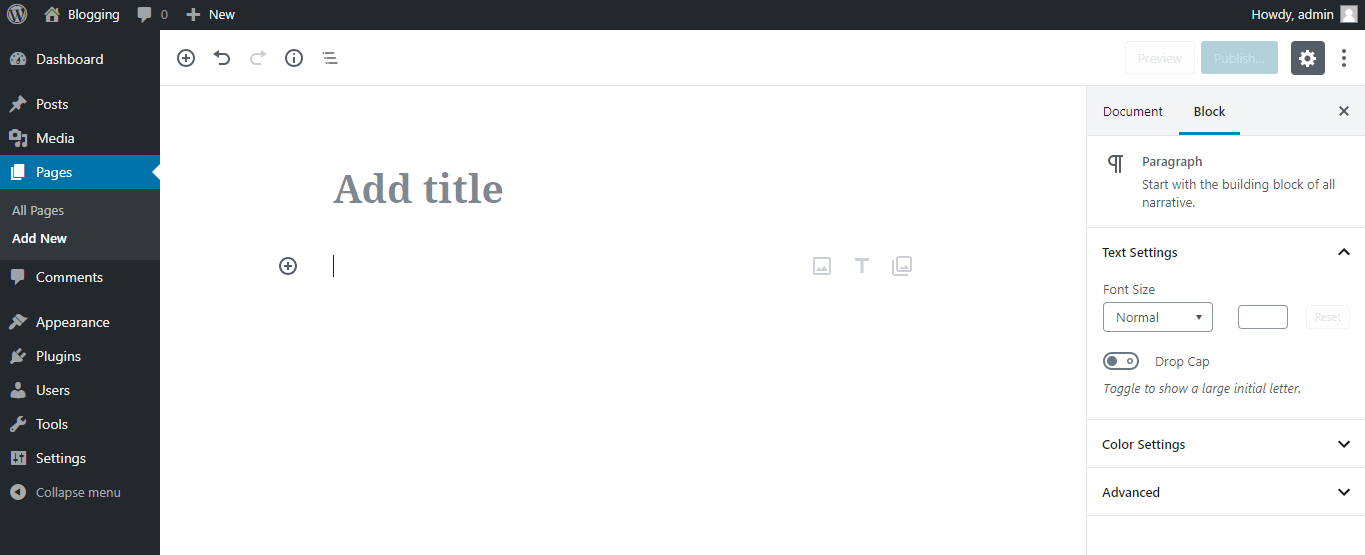
Creating posts and pages is quite similar, using a WYSIWYG text editor similar to a word processing application. Click Posts > Add New or Pages > Add New to check it out.
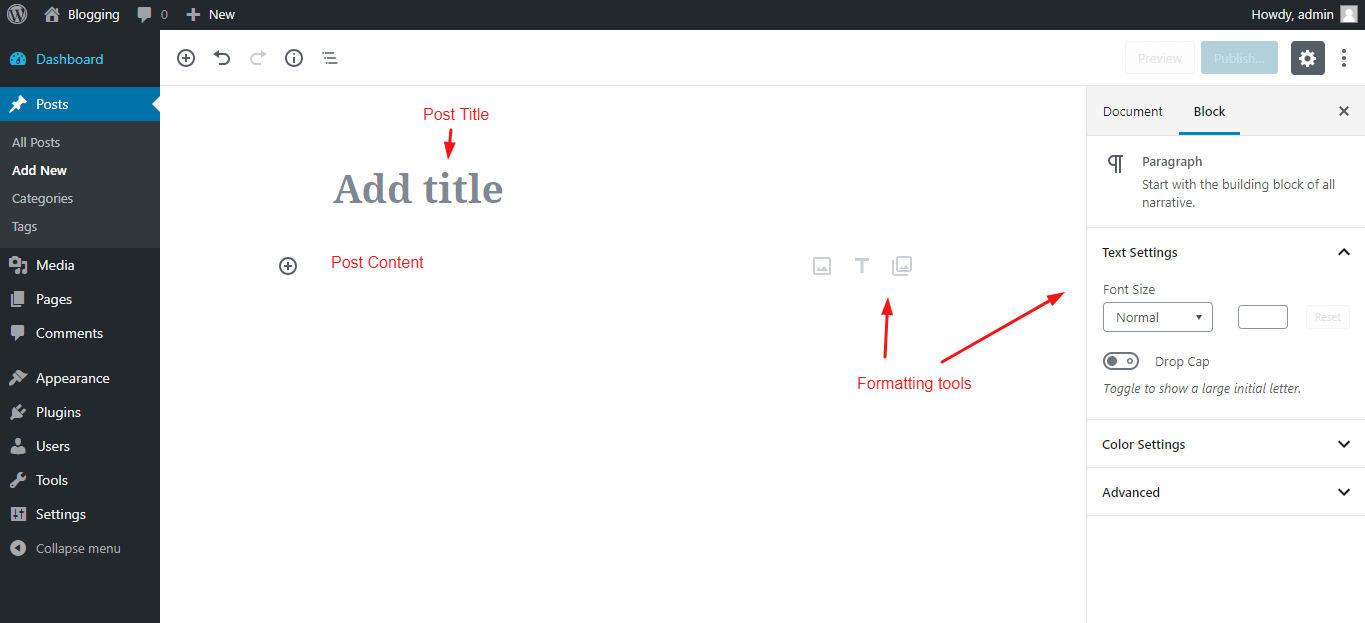
Each post is created with a consistent structure, including:
- Post Title
- Post Content
- Formatting Tools – allow you to format your text, add images and more.
- Publish – settings to manage when your post is published to the site.
- Format – defines the type of post you are creating.
- Categories – set the post category or create a new one if required.
- Tags – define keyword tags for your post.
- Featured Image – set an image that can be displayed with your post in menus, post listings and archive pages.
The page editor is similar to the post editor but does not include the Format, Categories, and Tags settings. However, an additional Page Attribute setting is available, defining a hierarchy and page order where desired.
Experiment with creating posts and pages. Use the Preview and Publish buttons to see how your content looks on your site. Once a post or page is published, you can easily remove it from the site’s front-end by setting its Publish status to Draft.

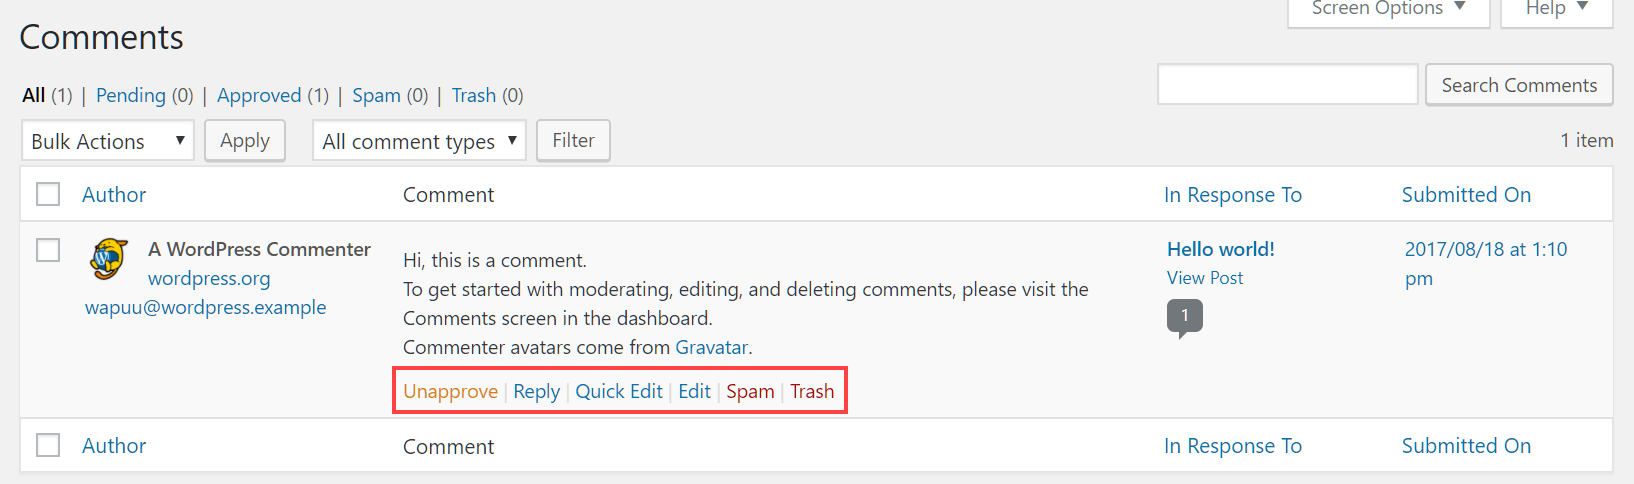
How to manage comments
As you begin to build your content and attract visitors, you’ll soon receive comments and kickstart discussions about the topics you’re writing about.
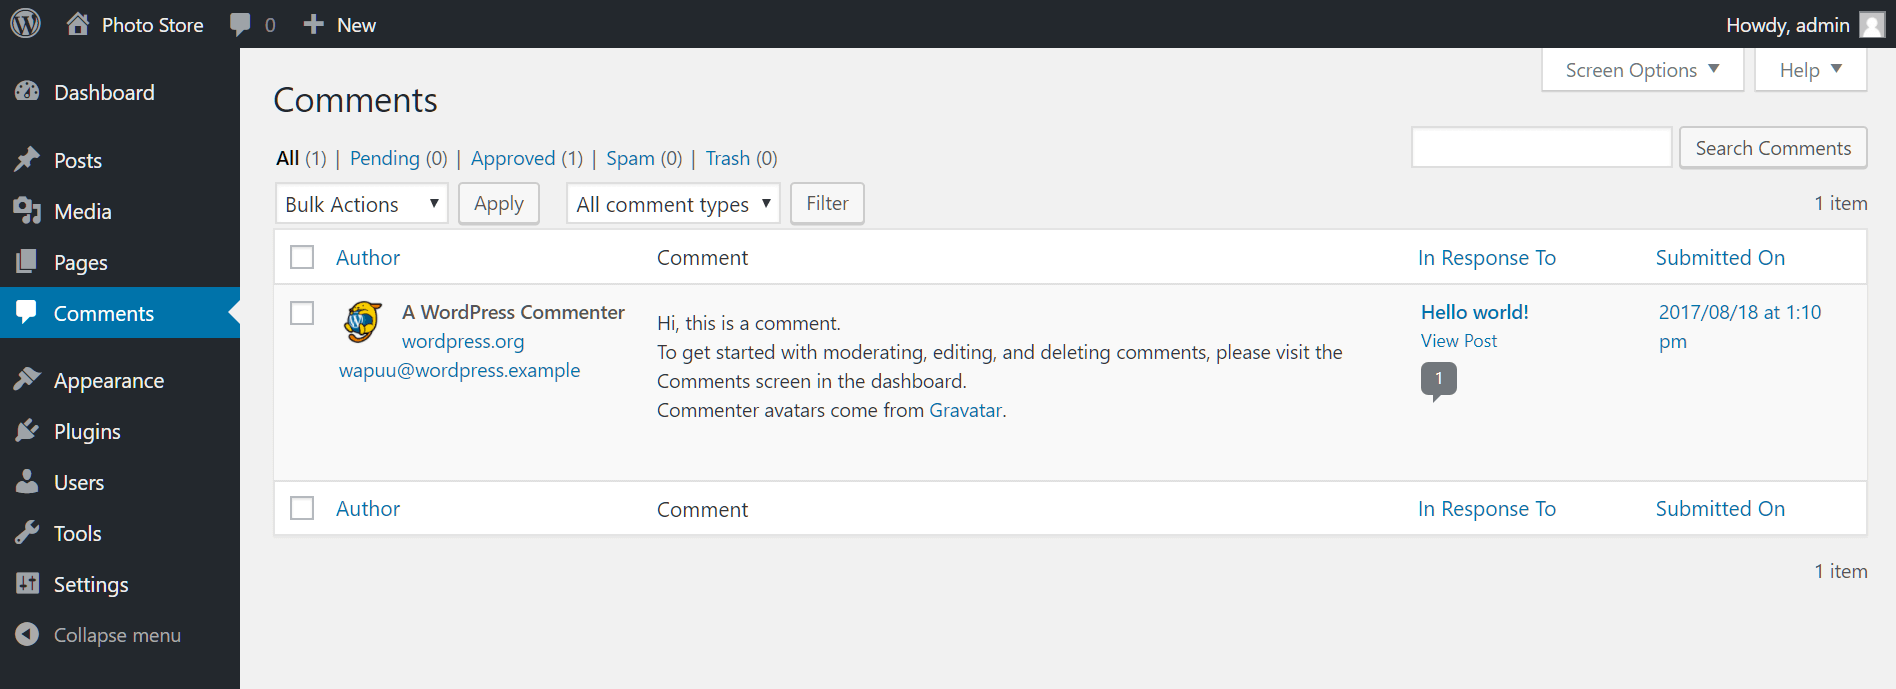
Comments are a great way to build content and interest in your site, as well as a tool to encourage repeat visits. Be sure to engage in discussion with your readers and, should you need to manage comments that do not meet the quality bar for polite conversation, simply hover over the comment to reveal editing tools.
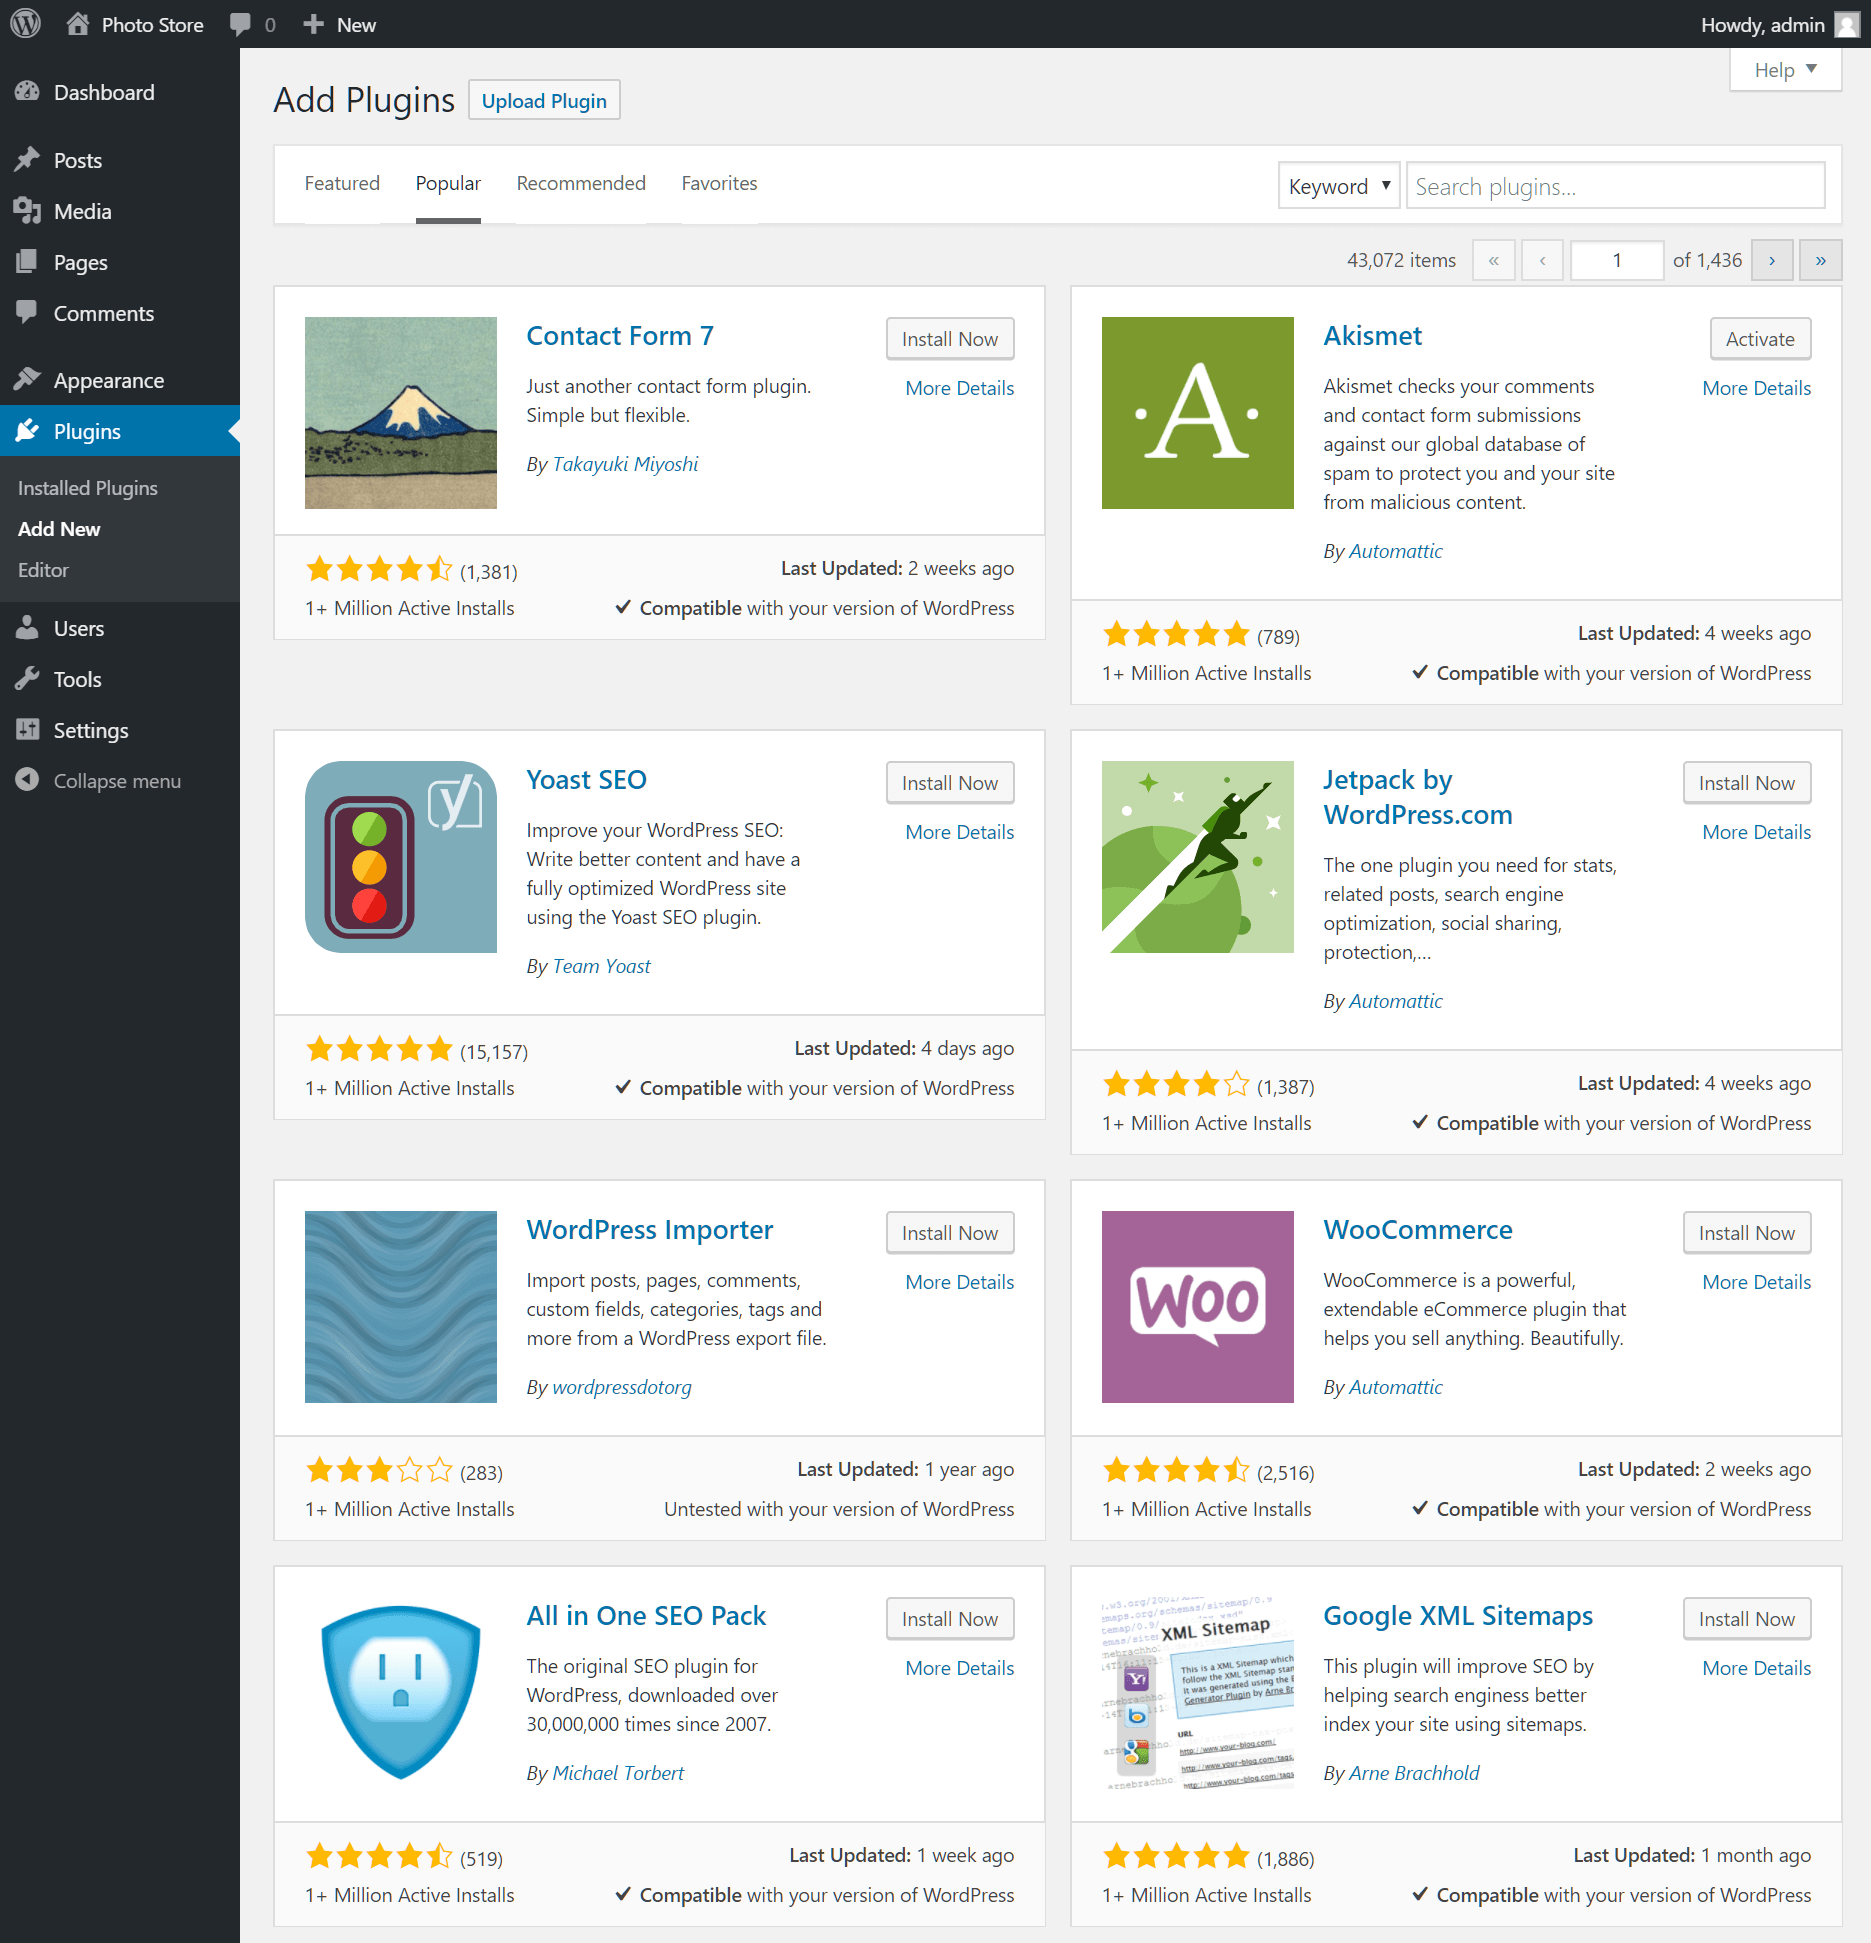
How to add features with plugins
While WordPress is blessed with a comprehensive array of features, a thriving developer community has built a repository of thousands of plugins to extend the platform’s capabilities further. Visit Plugins > Add New to browse the available range. Installation and activation of plugins take two clicks.
By now, you’ll have seen that WordPress is a great and flexible platform that allows administrators and content creators to develop great-looking websites with ease. Go ahead and experiment with the core capabilities and plan out your content, navigation and site design as you prepare for launch.
If you need help with your HostPapa account, please open a support ticket from your dashboard.
