Joomla is home to millions of websites and a massive community of people. This open-source platform is easy to customize, and you can use it to easily take advantage of internet marketing strategies. However, while you grow your business, you may feel the need to migrate to a more flexible and robust program, like WordPress. While they have the same purpose, WordPress and Joomla greatly differ in their features, use, and functions. Let’s look at the contrast.
- Joomla VS WordPress
- Why Migrate from Joomla to WordPress
- What You Should Consider Before the Migration
- How to Migrate Your Joomla Site to WordPress
Joomla VS WordPress
Joomla is an immensely popular content management system (CMS) with optimization for search engines that come with more than 70 translation packs and built-in support for multilingual content. Joomla can definitely give your website the kickstart and attraction it needs, but it’s not as user-friendly as its much more popular counterpart, WordPress.
Specifically, Joomla’s dashboard, where you spend most of your time as a website owner, can be pretty confusing thanks to its never-ending number of menus and submenus. And although Joomla can be a good platform for content management, it’s not made for blogs – but WordPress is.
Why Migrate from Joomla to WordPress?
While Joomla and WordPress are both open-source platforms written in PHP, use the MySQL database, and have similar hosting requirements, they’re quite different. There are multiple reasons why migrating from Joomla to WordPress can benefit you.
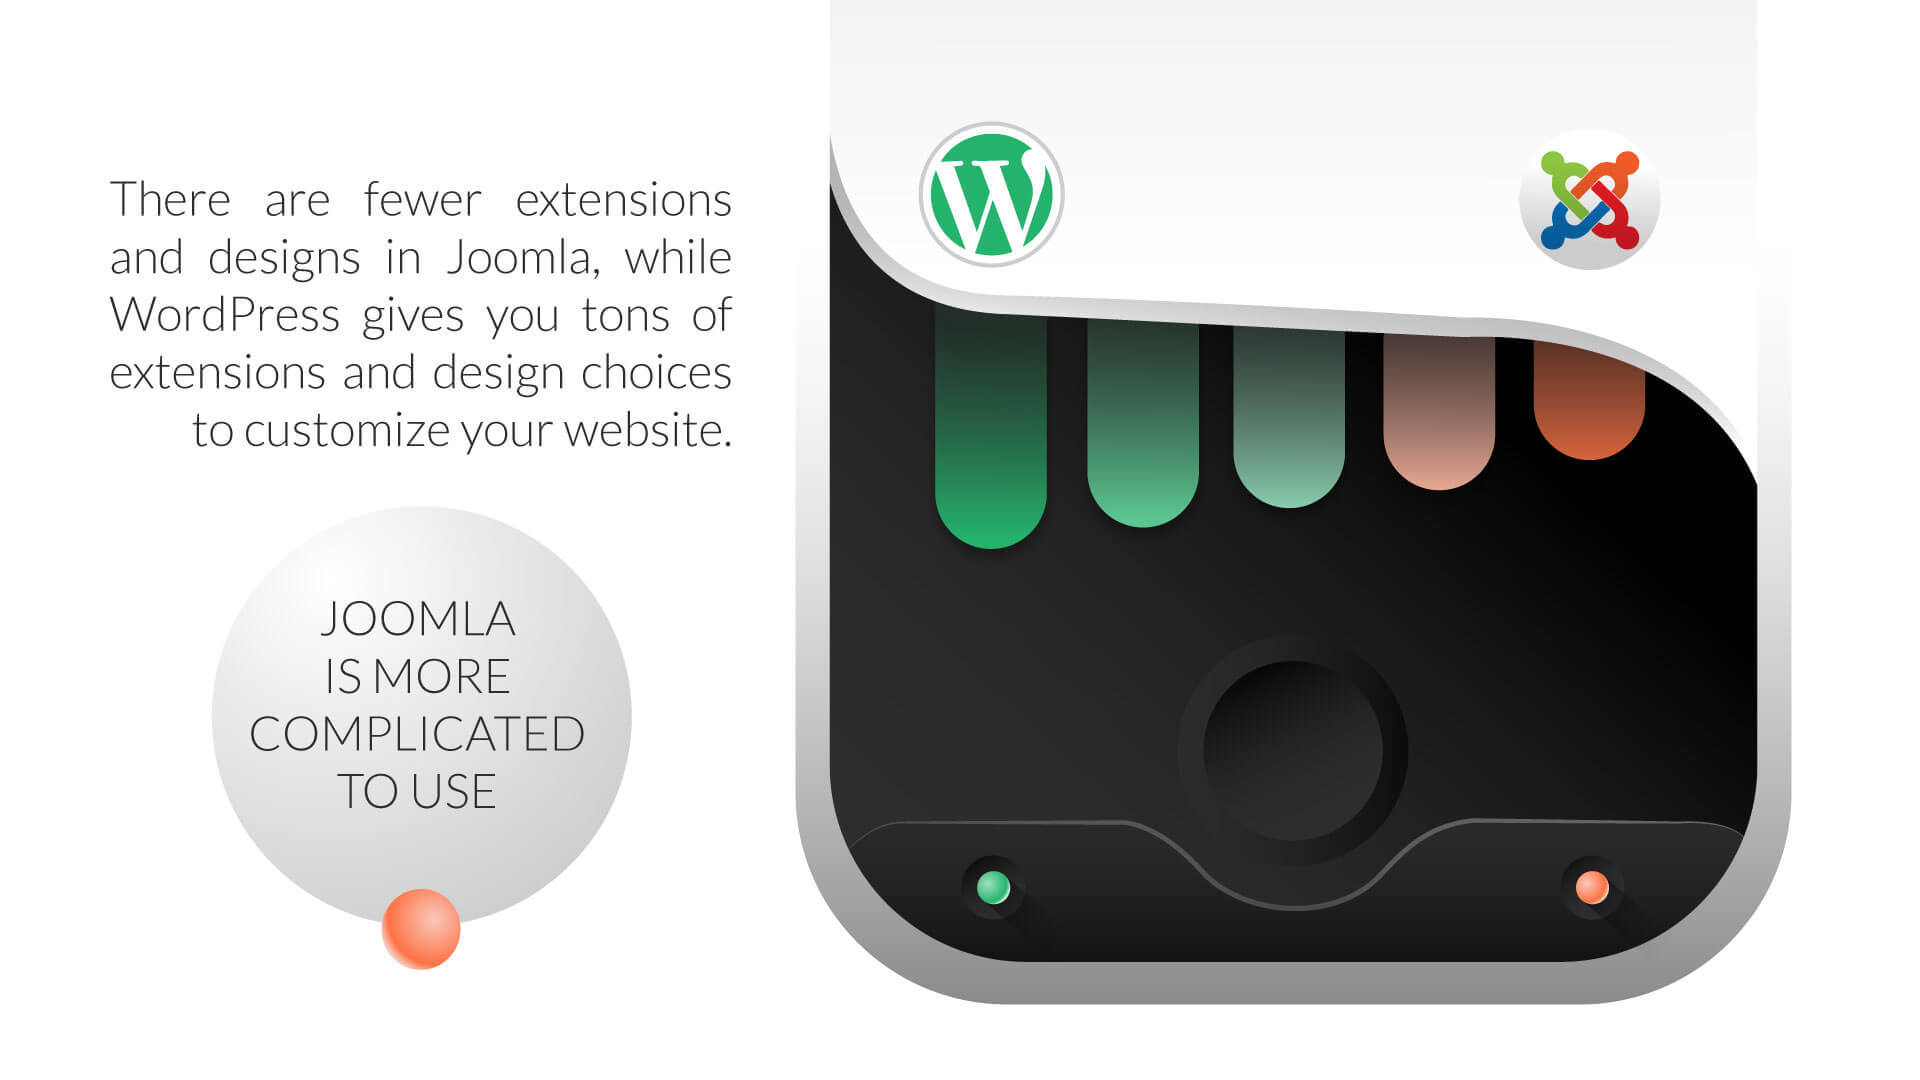
- Joomla is more complicated to use. It requires more technical knowledge to understand than WordPress.
- There are fewer extensions and designs in Joomla, while WordPress gives you tons of extensions and design choices to customize your website.
- While Joomla can be suitable for your basic website, it can’t work properly with a blog. On the other hand, people use WordPress for blogs because it’s perfect for every type of website.
WordPress increases your chances of growth and expansion immensely – so you should consider migrating to WordPress from Joomla.
What You Should Consider Before the Migration
Before you move your website to WordPress from Joomla, there are a couple of things you should consider.
Hosting
It’s likely that you already have a domain and hosting for your Joomla site, and your host might allow you to use these resources again for your WordPress site. However, we recommend you sign up for managed WordPress hosting for the best results. Managed WordPress hosting lifts all the weight for you – such as theme configuration, plugin optimization, and software upgrades, leaving all the technicalities to the host.
Because the hosting provider has a team that specializes in WordPress, they can perform better management than you, resolving any issues before they start to bug your website. For instance, HostPapa promises to manage your site in a way that can have high performance and high value, increasing your traffic with the highest uptime availability.
Domain
Once you get web hosting, you can easily register your domain through your host. Or, if you want to register your domain yourself, learn how to purchase a domain through a domain registrar.
After you’ve considered two factors, you’re ready to migrate your website from Joomla to WordPress.
How to Migrate Your Joomla Site to WordPress in 10 Steps
Step 1: Get WordPress
It’s easy to install WordPress, and you can make this process even easier if you have managed WordPress hosting from a reliable hosting provider like HostPapa. You can also download WordPress from WordPress.org.
Once you have WordPress, you can follow the onscreen instructions and get a website ready in a few minutes.
Aside from the migration process, you can also build your own website through HostPapa’s website builder.
Step 2: Install FG Joomla to WordPress Plugin
WordPress does not support Joomla migration, so you would need an FG Joomla to WordPress plugin to begin that process. This plugin can easily migrate your Joomla content to your WordPress, including posts, categories, media, and tags.
To install the plugin, all you have to do is log in to the WordPress dashboard, navigate to Plugins > Add New, and search for the name of the plugin in the search bar.
Install it from the search results, then activate it.
Step 3: Backup Your Joomla Site
To ensure that you don’t lose any data amidst the migration, you should back up your site. To do that, you can use the Akeeba Backup extension from Joomla.
- Install Akeeba Backup and go to Joomla’s Home Deashboard’s left menu. Your notifications will now have a new backup option.
- Click this notification and configure the extension (if it’s your first time using it).
- Select the configuration wizard figure when prompted so that the extension can handle the setup for you. The wizard will determine the optimal settings for your website and take the test.
- After the test, click Backup Now.
- Name the backup and add a comment, then click Backup Now.
On the other hand, you can also create a backup of your WordPress website in case something goes wrong during the migration process and you want to restore back to the empty site.
Fortunately, you don’t have to add an extension to backup your WordPress site. You can just go to the Manual tab and click on Backup. The software will create a backup for you.
If you’re a HostPapa subscriber, we’ll create daily backups of your WordPress website automatically, so you’ll always have a website to restore in case anything goes wrong.
Step 4: Wipe Your WordPress
From your WordPress dashboard, go to Tools > Import > Joomla (FG) > Run Importer.
The following screen will display the content you currently have on your WordPress site. Even an empty website may contain some sample web pages and default categories. Wipe your WordPress website clean, assuming there isn’t any important data you want to hold on to (if you do want to hold on to some pages or posts, create a backup), and import your Joomla’s content on a fresh website.
To do that, select Remove All WordPress content and click on Empty WordPress content. After some time, the plugin will confirm that your site has been wiped. There will only be one default category tag.
Step 5: Enter Your Joomla Database Parameters
In this step, you’ll enter your Joomla database parameters.
- Select System from the left menu.
- Click on Global Configuration and select the Server tab.
- Scroll to database settings and copy all the relevant information in this section, such as your host, database name, username, and password.
- Go back to your WordPress dashboard and scroll to the Joomla website parameters section. Find the Joomla URL field and enter the URL of your Joomla site.
- Select the option to transfer your data through HTTP.
- Click on Test media connection, which will test if there are any issues you need to solve before the migration.
- Once the test is clear, provide the information you have copied from your Joomla database parameters by pasting it in the appropriate fields on WordPress.
- Test the database connection. If you’ve entered the correct database info, the test will be clear and you will be ready to import your website.
Step 6: Import Your Joomla Content
Scroll to the Behavior section from your WordPress dashboard. It contains the settings you will use to manage your import and lets you choose what content you want to migrate and what you want to ignore, including the archived posts, media, and meta keywords.
This will also allow you to configure the import of your site’s media – whether you want to import featured images only to accelerate the process or want all of the images to be imported. You’ll also have the option to import your site’s intro text – a short snippet that provides a teaser to the full article on the site.
Once you’ve made your selections, go to the bottom of the page and click on Start/Resume the Import. The plugin will begin the process and notify you when it’s done.
Step 7: Modify Internal Links
The migration is over, but the full process isn’t. There’s a chance that the internal links within your pages or posts don’t work due to link breakage. If the off-page SEO is not working, it can damage a visitor’s experience.
Luckily, the plugin we’re using can scan for any broken internal links. Just click on Modify Internal Links, and the plugin will scan for broken URLs for you. You can remove them or fix them.
Step 8: Adjust Permalinks
This is a really important step. Permalinks are the URLs that lead web surfers from search engine result pages (SERPs) to your website’s posts and pages. You can change your permalinks whenever you want, but you should do this right after the migration to prevent broken links that can damage your search engine optimization.
WordPress offers six different permalink structures. You can look at them by navigating to Settings > Permalinks. WordPress uses the plain ID-based structure that looks like:
mywebsite.com/?p=123
A structure like this doesn’t tell anything useful to search engines, which consequently does not convey any useful information to visitors. However, you can change this structure to a more specific one to give a better image and experience to visitors.
To do that, select the Post name button and click on Save Changes.
Step 9: Repoint Your Domain Towards WordPress
You need people to come to your WordPress site and not the Joomla one whenever they want to find you. To make that happen, you’ll need to repoint your domain, which was previously pointed to Joomla.
You can easily change your domain’s DNS from your host’s dashboard, depending on if your host allows this. HostPapa allows its customers to repoint their domain whenever they want through the HostPapa dashboard.
Step 10: Get a New WordPress Theme
At this point, your WordPress website is just like your Joomla website, with all the same content, but it doesn’t look like the old site, right? Well, that’s because you’re using WordPress on its pre-installed default theme.
You can customize your WordPress by installing a new theme. It’s important to know how to choose a WordPress theme if you want your site to be perfectly optimized for views.
To install a theme, go to your WordPress dashboard > Appearance > Themes > Add New. From there, start exploring themes and choose the one that catches your eye. Don’t forget to check the preview before you select one.
Always check the rating and reviews before selecting a theme. Recent feedback can help you find out if the latest update of the theme had any problems. Once you find the perfect theme, select Install > Activate.
Summing It Up
Moving content from one CMS to another can be a bit of a daunting task, but with the right tools, specifically the FG Joomla to WordPress plugin, it can be a lot easier.
To make it even more smooth and stress-free, you can opt for managed WordPress hosting by HostPapa, which will take care of every aspect of WordPress for you, while you can focus on expanding your business.